Today will finish the installation of the Rotax on the RV-12 airplane and start the installation of the cowl. Previously I decided to hold off on the cowl until the engine was installed to ensure a good alignement with the spinner.
Reference: Page 46-18 RV-12 airplane plans
Step 7: Attach FF-01223 Drain Tube to large cushioned clamps on engine oil return tubes using small cushioned clamps and hardware called out in Figure 2.
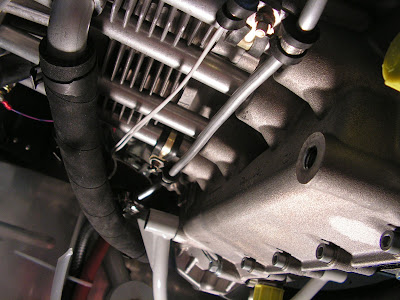
Step 8: Attach FF-01225 Drain Hose to the Gascolator to Fuel Pump Hose using tie wraps per Figure 2.
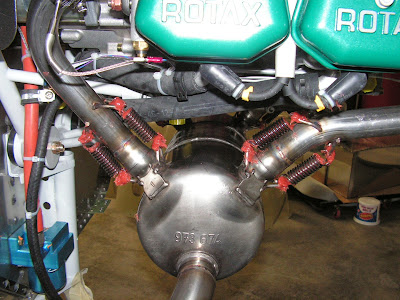
Builder's note: The routing shown in the picture above is wrong! It needs to go behind the engine mount tube at the top of the picture. Otherwise it is too close to the exhaust system. So below are pictures of how it should be routed that were taken later.

Step 9: Trim FF-01225 Drain Hose at its lower end per Figure 2 dimension if/as required.

This completes page 46-18 and the installation of the Rotax. So now it is time to move on to the cowl.

Reference: Page 38-03
Step 1: Make the two Side Hinges as shown in figure 1 on page 38-03.
Step 2: trim the Cowl Hinge pins to length.

Step 3 & 4: Make the Upper Cowl Hinge pins using the dimensions shown on page 38-03. Then bend them to follow the curve of the upper cowl.


Step 5 & 6: Make the two lower cowl Hinges and the Mid Hinge pins out of hinge pin material.

Step 7: Grind the ends of the col pins to create as offset pointto the inside of the hinge pins curve.
Step 8: Bevel the hinge eyelets along the curved portion of the Upper Cowl Hinges using a flat file with smoth edges.
This completes page 38-03 and today's work on the RV-12 airplane.

