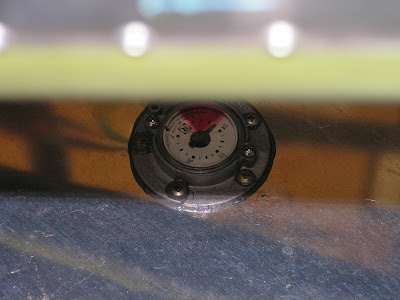
This entry starts with a final fuel tank test by fill the tank with MOGAS and letting it set for several weeks. The rest of today was spent testing and adjusting the audio mixer pots in the Control Module.
Reference: 45A-10
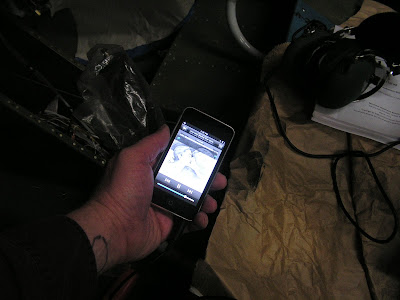
Step 1: Plug in music device such a an iPod into the auxiliary music jack. With the output on the device set at 75%, practice turning the pots in the Control Module for the Aux(L) and Aux(R).
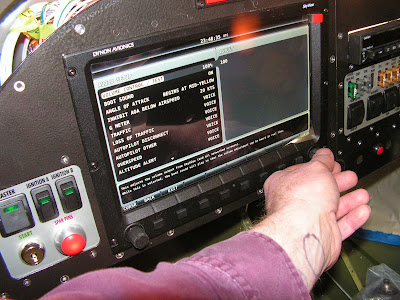
Step 2: With headsets plugged in set the EFIS L & R alert outputs. This is done by going to the Audio Setup menu on the Skyview (pressing buttons 7 & 8 similtainuously and holding them down will get you there) and setting the level to 100%. The whole procedure is outlined on page 45A-10.
Builder's Note: I found different headsets need different volume levels so I split the difference between the brands of headsets I own.
Step 3: With headset plugged in turn on the audio devices connected to the module using ATIS for radio input.
Builder's Note: OK, I freaked out a bit when my radio didn't power up. But it turned out I didn't have it seated in the tray correctly. Below is a picture of the correctly seated radio. The radio tests will have to wait because I can't pick up ATIS at my house.

Step 5: Reinstall the Control Module back into place if required. Builder's note: In finishing this section I found the ground wire from the ELT Switch was 1/2" too short. So added a 2 inch extension to it and connected it to the fan screw as directed earlier in the plans.

So that is it for this section of the RV-12 airplane build. Next Im going to install the front nose gear and start on installing the engine!

