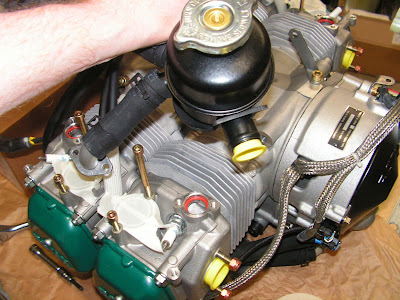
Today I will work on exposing the top of the Rotax engine so the cooling shroud that is used on the RV-12 airplane can be fitted to the engine.
Step 1: Remove the eight allen screws from the upper coolant sockets that attach the Hose/Expansion Tank Assembly to the cylinders.
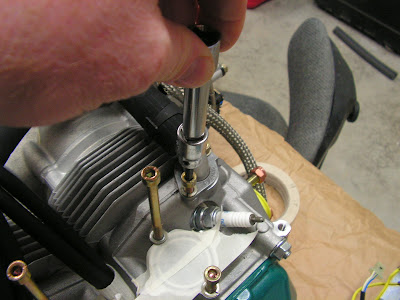
Step 2: Remove and set aside Hose / Expansion Tank Assembly.
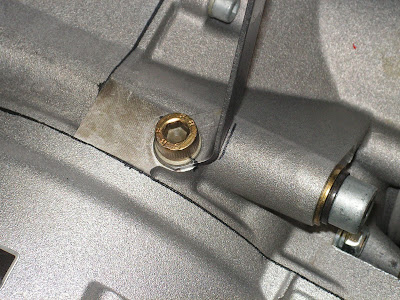
WARNING: Verify the O-ring is still in place on each coolant socket port. Then prevent foreign objects from entering the ports by covering them with masking tape.
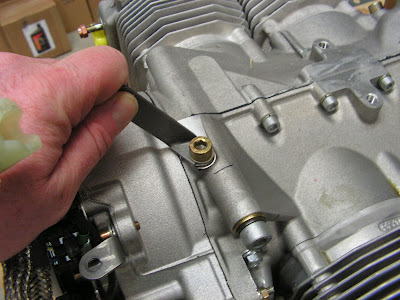
Step 3: Mark the position of the forward ignition module bracket on the engine case. The bracket will be returned to the marked position. Loosen the allen screw and rotate the bracket 180 degrees.
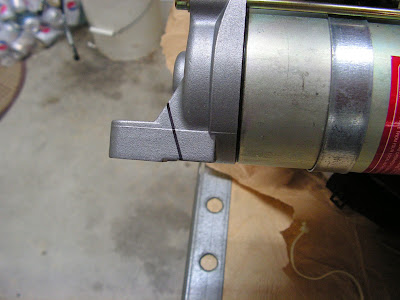
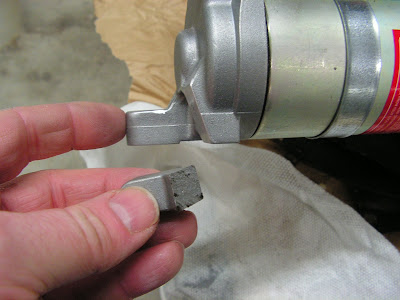
Step 4: Mark the upper grounding lug on the starter. See Figures 4 and 5 on page 46-02 of the RV-12 airplane plans. Cut off the lug with a hacksaw then file smooth the cut area on the starter. See Figure 6.
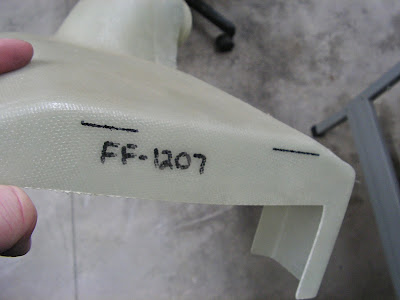
Step 5: Mark the FF-1207 Cooling Shroud in the four locations. See Figures 7 and 8. When the cooling shroud is correctly trimmed these marks will be at the same elevation as the top of the outboard most cooling fins.
This completes page 46-04 of the RV-12 airplane plans.

