Showing posts with label RV-12 page 23-07. Show all posts

Sunday, May 3, 2015

Vans Aircraft RV-12 Airplane Build, Section 11: Final Install AST Tabs and Servo; Section 23: Fresh Air Vents

Reference: Pages 11-04, 11-07, 11-08, 32-10, 32-13, 23-07; 3.5 hours

Today has a lot of activity in different areas. Including the installation of the Stabilator trim tabs, servo, flaperon torque tubes and fresh air vents.

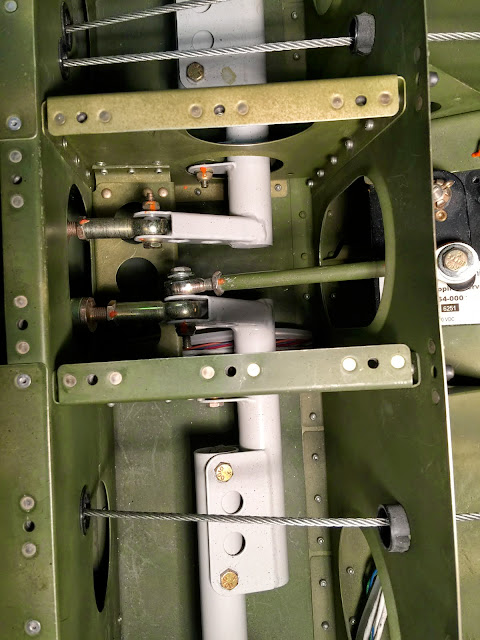
Reference: Page 32-10.

First came the installation the flaperon torque tubes.
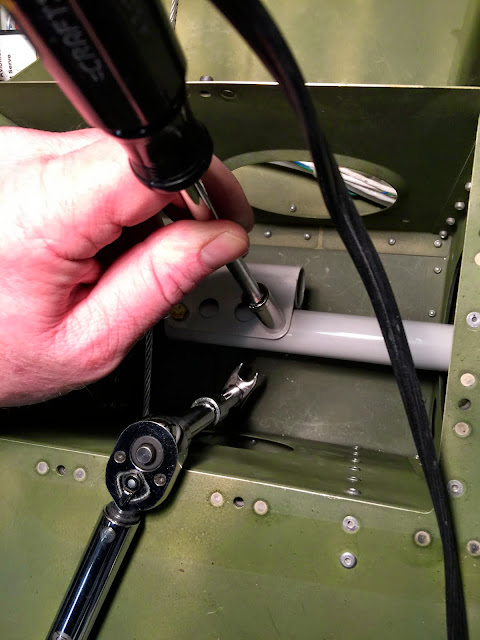


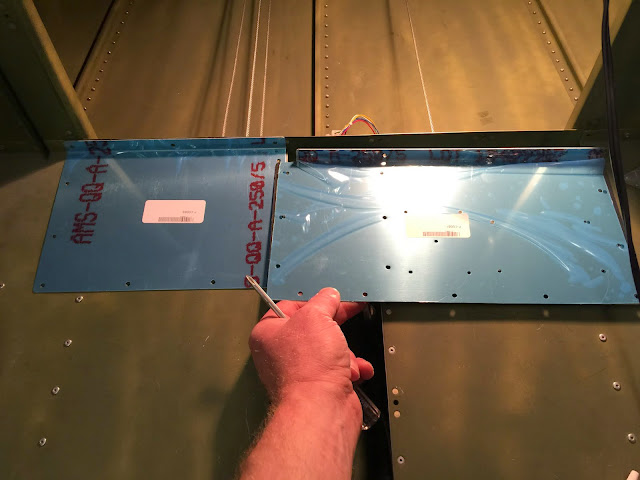
Builder's note: Van's has split the baggage floor cover so these can be inspected with out removing the fuel tank!!! The part number are F-00081 and F-00083.


Reference: Pages 11-04, 11-07, 11-08

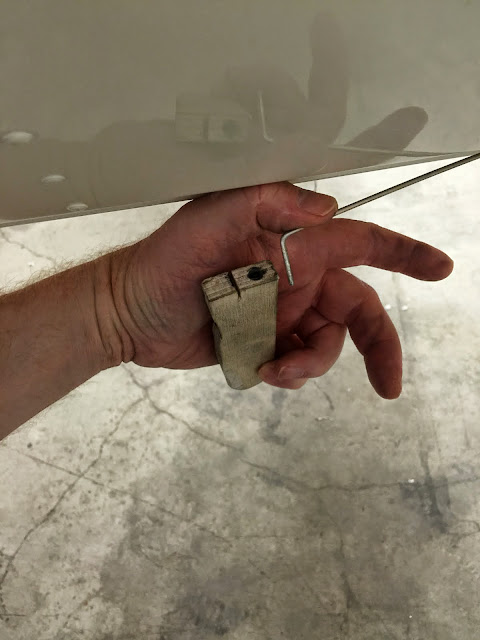
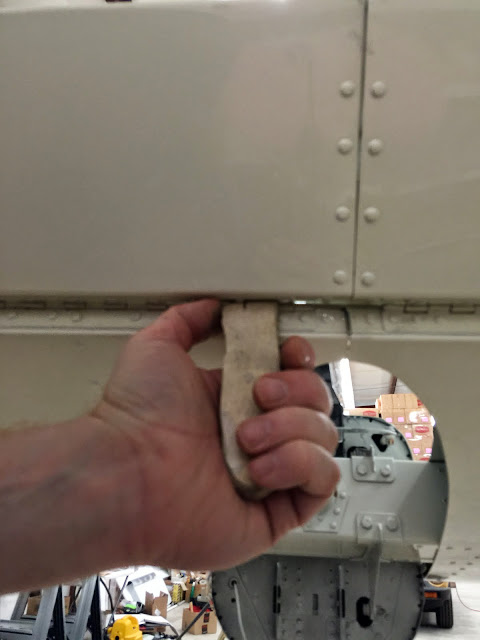
Installed the AST tabs onto the Stabilator. I did find lubricating the hinge pins first made installation easier. Also I used a small block of wood to help push them into place. Then these were safety wired to the Stabilator as called out by Van's Aircraft.
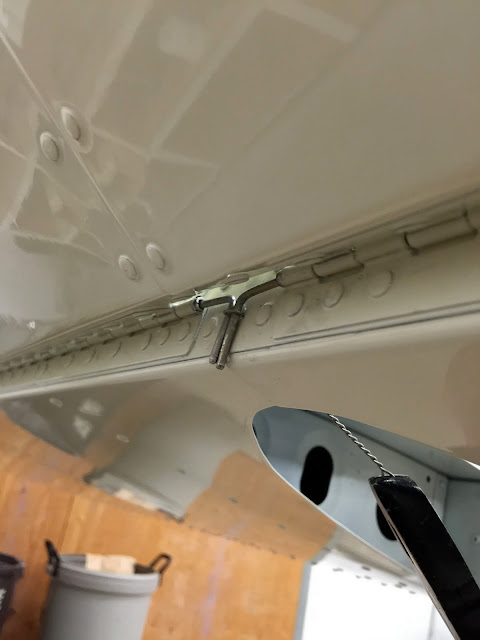


Next came installing the trim tab servo and wiring per the instructions. As noted in the pictures my RV uses the older style electrical connectors verse the newer molex connector.
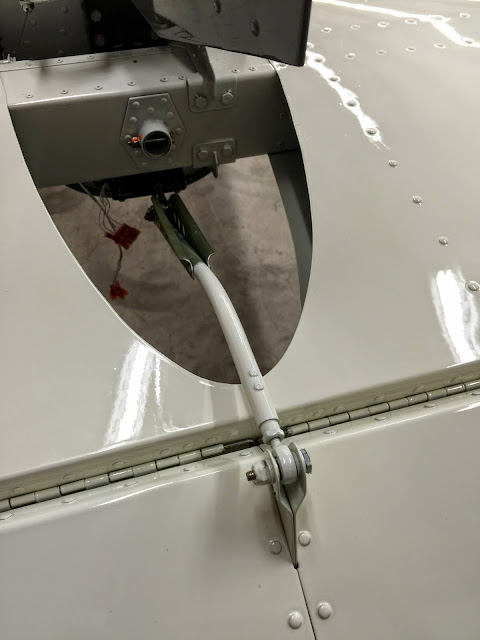
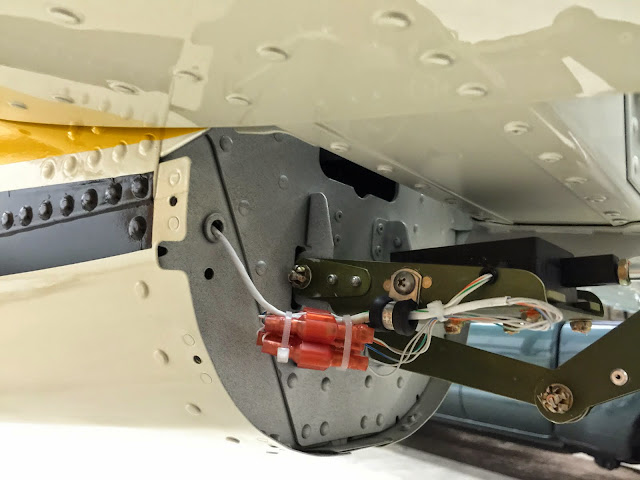


Reference: Page 32-13

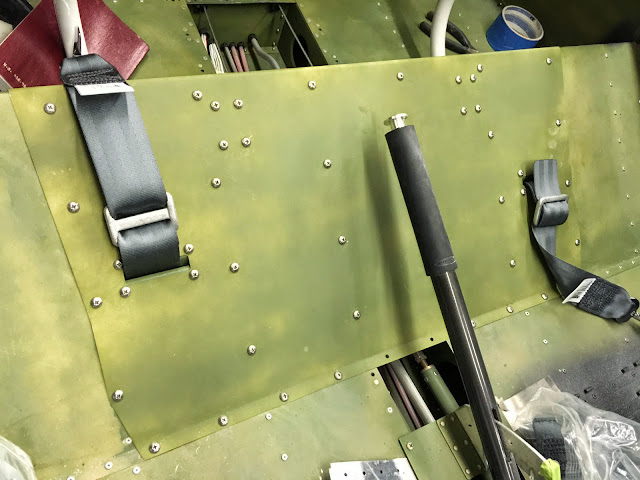
In preparation for the adjustment of the Stabilator cable tension, the cables were attached to the stabilator horns and cotter pinned. Also I installed the seat floor as this must be in place to get a good tension reading.
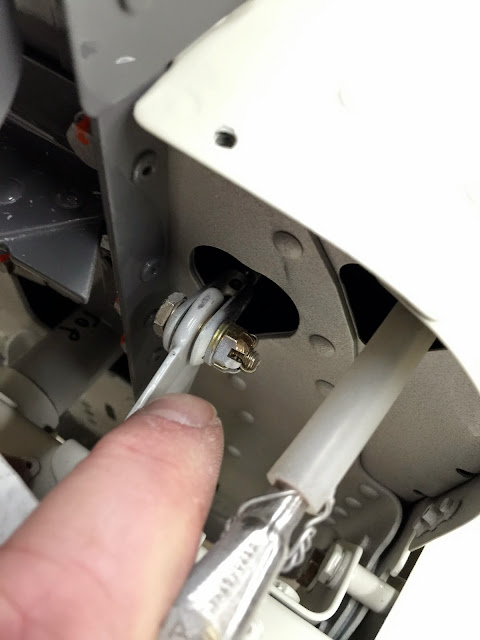
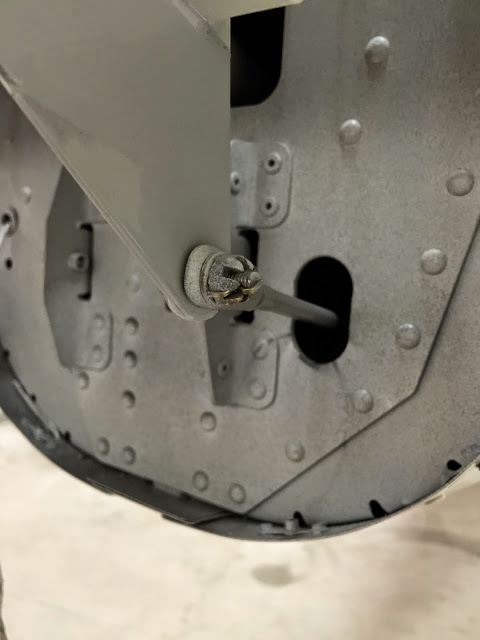


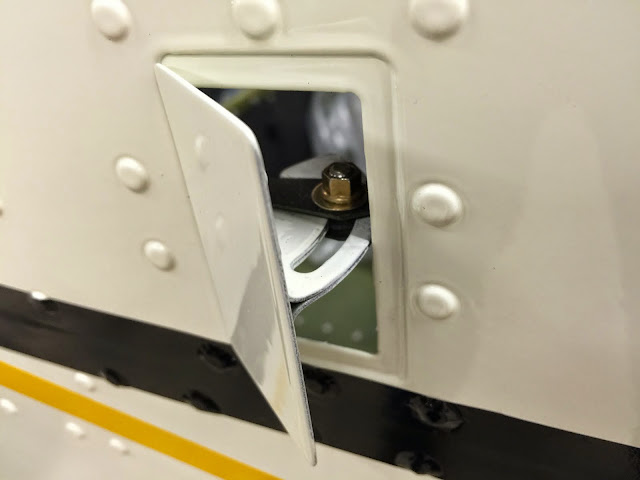
Reference: Page 23-07

Installed the fresh air vent.


That's all for today. Next I will work on setting the Stabilator cable tension.

Friday, June 29, 2012

Vans Aircraft RV-12 Build, Section 23 Side Skins (part 7)

Reference: page 23-07; 2.5 hours

This entry will finish installing of the the fuselage side air vents on the RV-12. If you are new to this blog, I'm building a RV-12 which is an experimental aircraft kitted by Van's Aircraft that meet the criteria for an LSA or Light Sport Aircraft. Among other things I have a small builder's Gotcha on the vents, but more on that later.

Step 1: Cut apart the Vent Bracket into two F-1086A and two F-1086B Vent Brackets. Cut apart the Vent Slide into tow F-1087A and two F-1087B Vent Slides.


Step 2: Cleco the Vent Slides, Vent Door Doubler and Vent Door together. Final-drill #40 the holes common between these parts. This creates the Vent Door Subassembly. Repeat this step to create a second vent door.


Step 3: Machine countersink the holes in the Vent Doors for flush rivets on the outboard side of the aircraft.


Step4: File the edges of the slot smooth in the Vent slides. Check that an AN525-10R7 Screw smoothly slides along the entire length of the slot.


Step 5: Cleco the Vent Brackets and the Vent Doubler to the left Fuselage Side Skin. Final-drill #30 the holes common between these parts. Repeat this step for the right side of the aircraft.


Builder's note: This is were the Gotcha comes in, see picture below. While drilling the brackets I went as slow as possible and still managed to snag the bracket and break it! Oh well time for a new bracket. On the remaining bracket holes, I drilled the last little bit of the hole with the drill running in reverse. Yes it was a pain but it didn't grab the bracket.


Step 6: Disassemble the Vent Brackets and Vent Doublers from the fuselage side skins. Disassemble the Vent Door Subassemblies. Deburr all parts.

Step 7: Rivet the Vent Doublers and Vent Brackets to the Fuselage Side Skin. Repeat this step for the right side of the aircraft.


Step 8: Rivet the Vent Slides, Vent Door Doubler, and Vent Door together. Repeat this step to create a second door subassembly.


Step 9: Insert the Vent Door Subassembly as shown in figure 5 of the RV-12 plans on page 23-07. Install the hardware called out by Van's Aircraft through the Vent Brackets and the slot in the vent door subassembly. Repeat this step fro the right side of the aircraft.


On the last step I trial fit the vents and then bagged the hardware for installation after painting. This completes page 23-07. So long until next time.