Wednesday, May 27, 2015

Vans Aircraft RV-12 Airplane Build: Install of SunShade and EAA Technical Inspection

Reference: Van's Aircraft Koger Sunshade Instructions; 8.0 hours

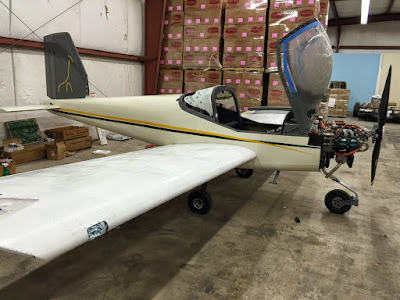
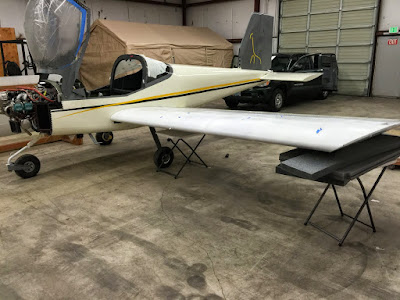
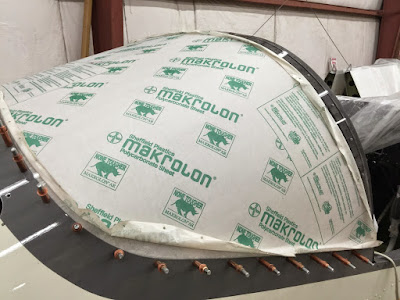
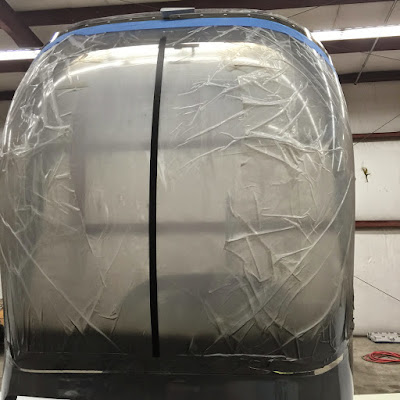
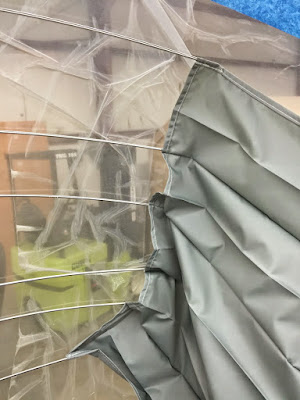
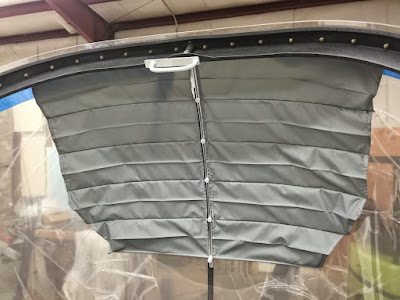
Today I installed the largest Koger sunshade available for Van's Aircraft for the RV-12 airplane. Also, it is time for Ernie's to do the next EAA technical inspection of the RV-12.


Next came my next inspection of the RV by one of our EAA chapter's tech counselors. Overall he has been and is pleased with my RV-12. There were a few items he wanted to be see addressed as listed below and how they were corrected or addressed.

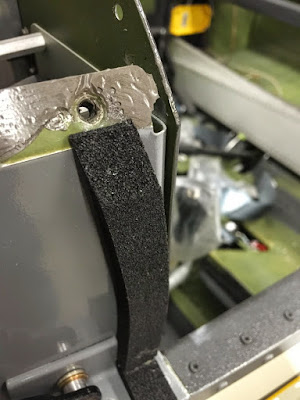
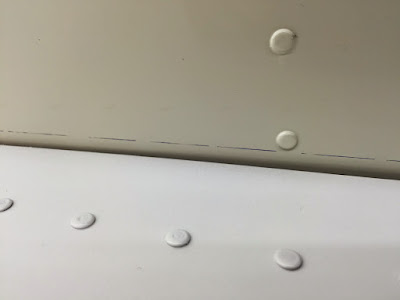
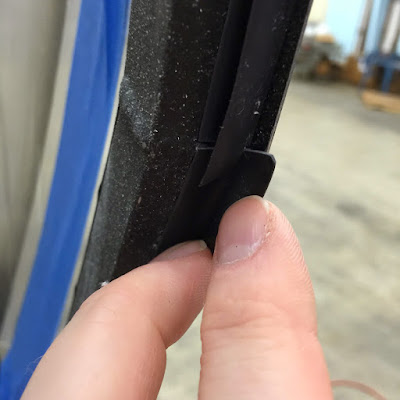
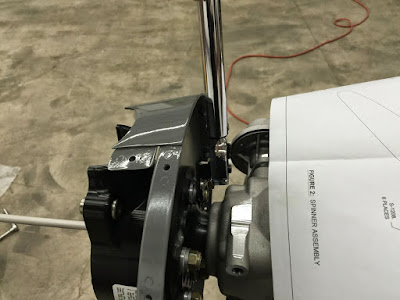
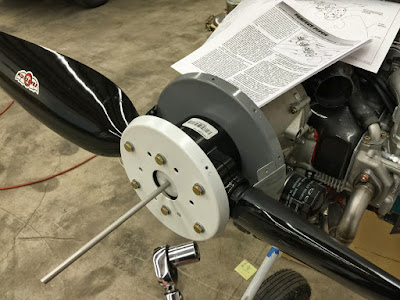
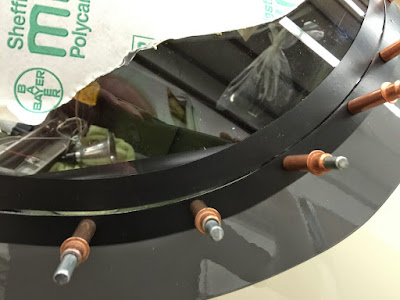
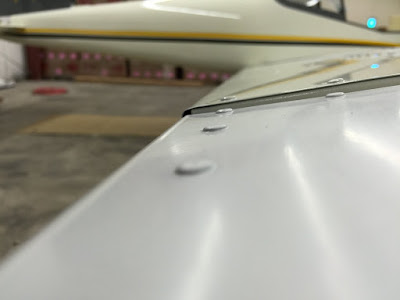
Prop bolts too short (pictured below). Fixed: Contacted Van's and Sensenich Propellor. I was told by Sensenich that these are the correct bolts despite two threads not showing beyond the lock nut (an industry standard.) Their explanation is there are Nor-lock washers under both the head and the nut. I also received an email from Sensenich's engineering stating that this is the correct installation and that it isn't possible to go to longer bolts. A copy of this email will be saved in my maintenance files.


Aileron's need to be set 3/32" below the trailing position (on each side) when the stick is in the neutral position. Not raised slightly as mine were. See picture below of wrong setup. No picture of corrected setup. Fixed: Crawled back into the baggage area and readjusted the push rods ensuring there was enough threads still in the push rods. Total adjustment was 1.5 turns on the push rob ends. Re-torqued the push rod ends. Note: Van's Production Acceptance Criterial calls this out on page G2-2.


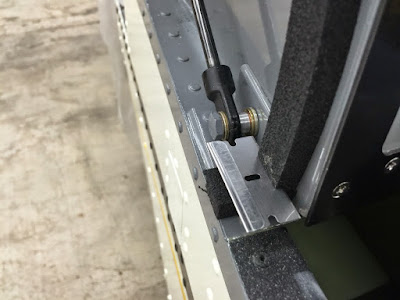
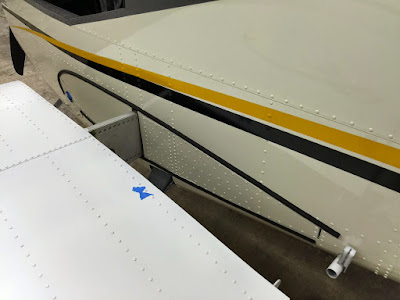
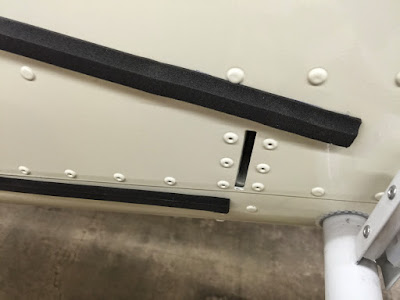
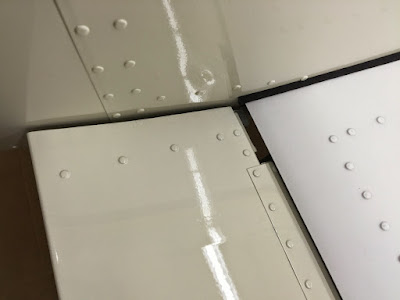
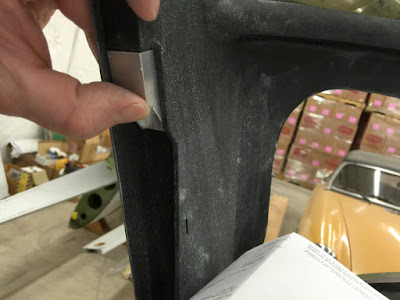
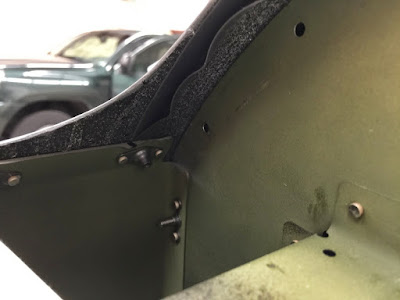
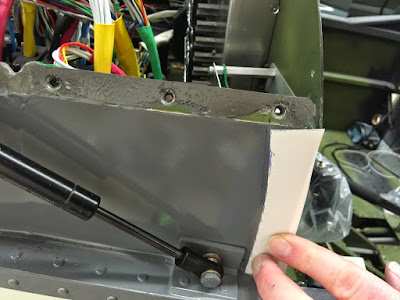
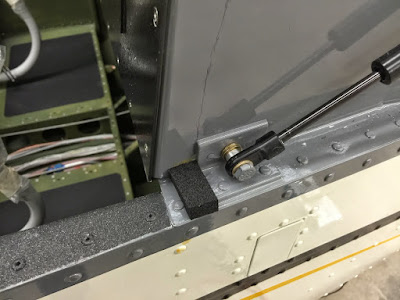
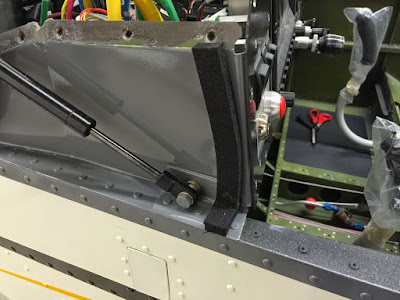
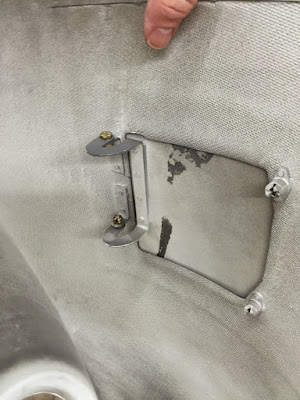
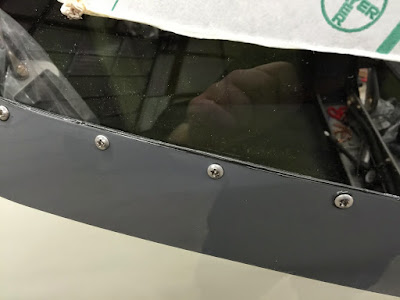
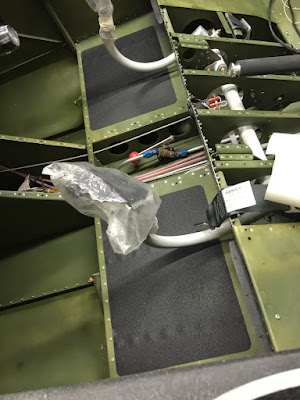
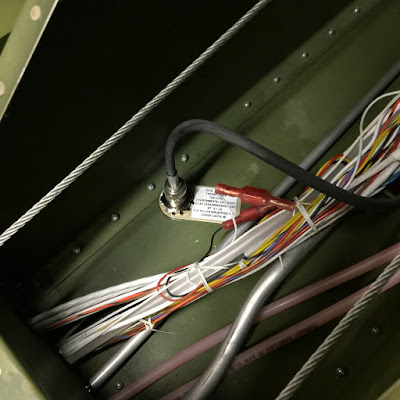
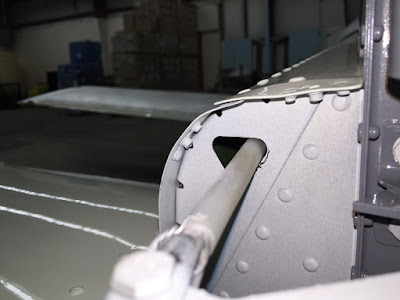
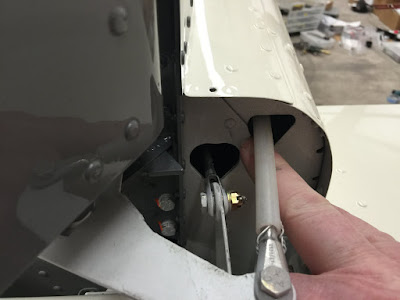
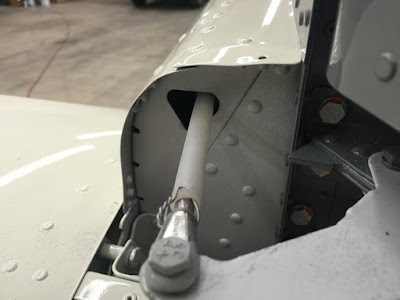
Clearance of rudder cables was not acceptable on the rear tailcone former. See pictures below. Fixed: enlarged openings, deburred and primed edges.


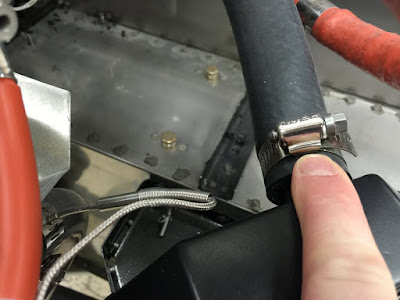
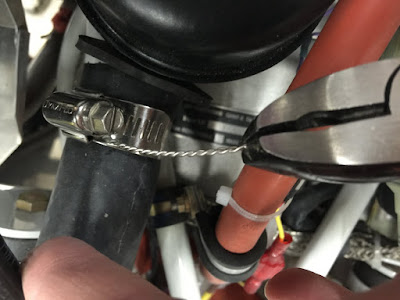
Safety wire all hose clamps. Not called out in plans but it is one of Ernie's personal preferences. Fixed; Safety wired all the hose clamps.


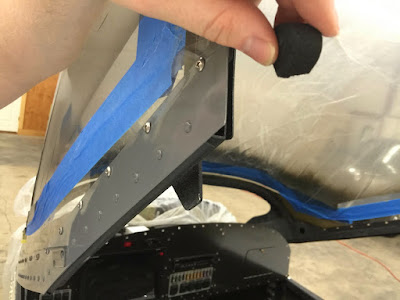
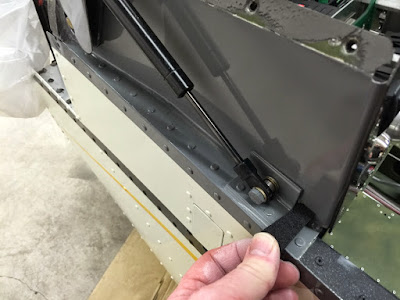
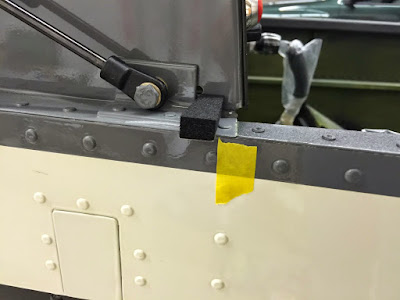
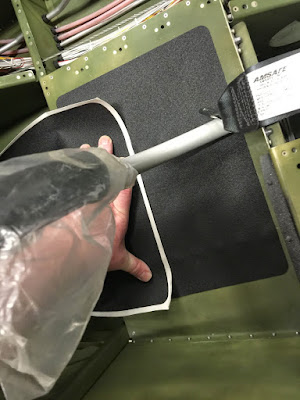
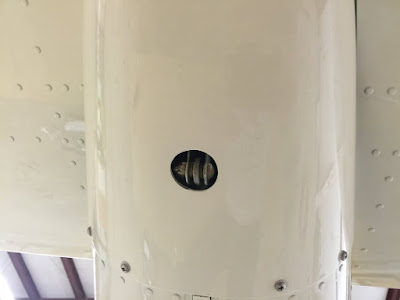
Clearance for the flaperon servo linkage in the tailcone needed to be increased. Fixed by increasing the hole size in the fiberglass tailcone.


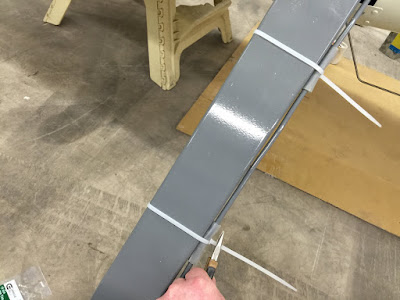
Additionally I installed the zip ties on the brake lines. Oh yes, we also found a leak in the left brake line/landing gear block that is now fixed.
That is all for this entry. Next I have some touch up of the primer on the wings and top coating of these ( this will be included in the painting entry). And then updating of the Skyveiw EFIS system.

Sunday, May 24, 2015

Vans Aircraft RV-12 Airplane Build,Section 42C: Install of the Comm Antenna; Section 49: Sealing of Cowl Heat Shield

Reference: Page 42C-10 1.0 hours

Very short work day. I just installed the comm antenna on the RV-12 aircraft.


Reference: page 49-16

Sealed the edges of the cowl heat shield with epoxy.


That's it for today's work on the RV-12.

Vans Aircraft RV-12 Airplane Build,Section 34: Canopy Seal Kit Seals & Section 51A Placards

Reference: page Canopy Seal Instructions: page 34-22, 34-23, Section 51A pages 01-06; 5.0 hours

Today continued the work on the RV-12 airplane canopy seals after allowing the foam seals and silicone to set 48 hours.


This completes the Canopy seal for the RV-12 airplane.

Reference: Section 51A

Next came the installation of the placards for the airplane. I am installing the carpet kit so many of these will be covered over (i.e. the EXPERIMENTAL decal). It also sewn into the carpet kit for the RV-12. For the registration number on the instrument panel, I used a Brother's label printer with clean backing labels. One thing I did change is the location of the "50 pound baggage limit" placard as this would be covered by the carpet with no other provisions for it. So, after consulting with Van's Aircraft it was moved to just above the fuel tank on the inside of the fuselage. Not pictured is the placement of the fuel filler placard.


The last placard to install is the data plate. This still needs to be engraved before installing.

Tuesday, May 19, 2015

Vans Aircraft RV-12 Airplane Build,Section 33: Wing Attachment and Installing the Wing Seals

Reference: Page 33-04; 3.0 hours

Today I attached the wings onto the RV-12 airplane project and installed the wing seals per plans. The last 1/16 inch to insert the wing pins was hard with the wing seals in place!


Marked for the seal placement, it goes ~1/4 inch above the skin.


Builder's note: During this process I noticed the inboard end of the ailerons need to be trimmed (again) to insure a minimum of an 1/8 inch clearance from the fuselage skins per the acceptance checklist issued by Van's Aircraft for the RV-12. This can be done more easily if the flaperons are extended to full flaps.


This completes this entry.

Sunday, May 17, 2015

Vans Aircraft RV-12 Airplane Build,Section 34: Canopy Seal; Section 38: Installing Oil door hardware; Canopy Seal Kit

Reference: page Canopy Seal Instructions, page 34-04, page 38-09; 4.0 hours

This entry covers the installation of the Canopy Seal Kit, and the oil door hardware.

Reference: Section 34: Canopy Seal Kit Instructions

Builder's note: I have the older style canopy so it required the frame extensions a pictured below. Other than that its all pretty straight forward..


The picture above shows the front canopy seal with the forward fuselage skin removed.


Builder's note: At this point wait 48 hours for the seals to set before trimming or shutting the canopy.


Builder's note: The picture above shows the seal being cut to the dept of 1/8 of an inch.

Reference: Page 38-09:

Next came the final install of the oil door hardware and cam locks. Which is very very straight forward at this point.


Another entry bites the dust. I'm going to schedule my next EAA technical inspection soon for the RV-12 airplane.

Saturday, May 16, 2015

Vans Aircraft RV-12 Airplane Build,Section 47: Installing the Propellor; Section 25: Rear canopy window

Reference: page 47-06, page 25-06, page 42C-10; 9.5 hours

Today's work on the RV-12 ELSA airplane kit. Includes installing and sealing the rear window. Installing the propellor and and Transponder antenna.

Reference: Page 47-06

Builder's note: There is an article in the 3rd 2010 Rvator called Perfect Pitch on installing and pitching a prop on the RV-12. The goal is to have each blade within 0.1 degrees of the other to reduce vibration.


Reference: Page 25-06

Next came the installation of the rear window. The newer revision on the RV-12 plans calls out sealing the window and screws with fuel tank sealant to prevent fuel from getting to the edges and crazing the window. Note: I used clecos to hole the window in place, removing a section of them at a time to apply the fuel seal with a syringe. Then replaced the clecos with screws coated with sealant.


The last few smaller items included the installation of the floor anti-skid pads from Section 33. And the transponder antenna Section 42C-10.


Builder's note: The floor pads are the bigger pad versus the wing walk covers.


That's it for today's work of the RV-12. Long day but it's coming along nicely.