Today was a short work period to get the Rotax and RV-12 ready to bolt together.
Step 1: Apply a bead of high temp RTV sealant (approx. 3/16" wide and high enough to fill gap) along the perimeter line previously marked on the front and back of the engine case.
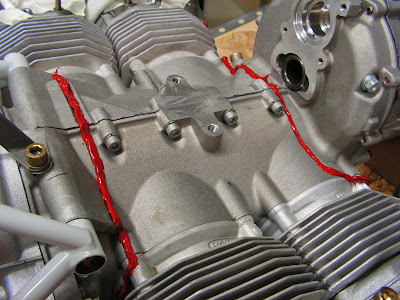
Step 2: Press the FF-1207 Cooling Shroud into its proper position. Use a Popsicle stick or equivalent to fill any remaining holes between the engine case and the cooling shroud with RTV. Do not apply any sealant to the cylinders near the heads. Ensure that the cooling shroud remains positioned properly until the sealant cures.
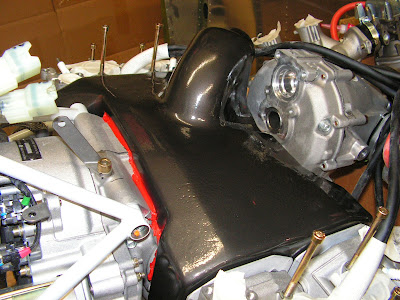
Builder's note: I used Hammer Texture paint so the "holes" in the paint aren't pin holes but texturing. Honest!
Reference: 46-10
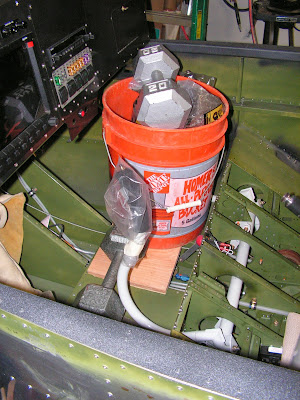
Step 1: Pre load the WD-1201 Nose Gear Assembly upward at the wheel so that the upper flange of the nose gear assembly is held firm against the F-1201C Firewall Bottom while drilling. Upward force under the tail will yield the same result.
Builder's note: I both loaded the plane with weight and propped up the tail to preload the nose gear. My holes didn't match between the gear weld-ment and the fuselage so I talked and sent pictures to Vans Aircraft for options. They said get the holes to align and then drill them. But I will have more on this in the next entry.