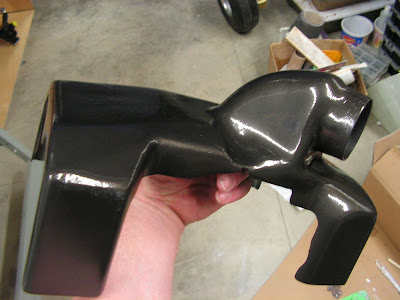
Today I prepared the Rv-12 airplane's Cooling Shroud for paint and painted it. While letting it dry I started on page 46-08 of the RV-12 airplane plans.
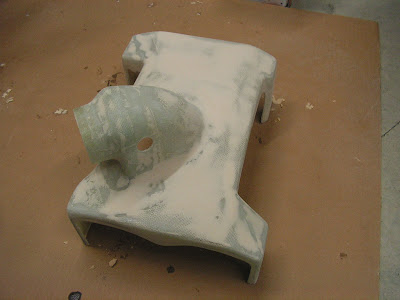
Next came primer then top coat. The weave is completedly filled except where the duct connects.
Reference: Page 46-08
Step 1: Cover any exposed rubber hose at the center of the VA-216 Fuel Return Assy with RTV. Mask off the banjo fitting to keep RTV from entering and wrap masking tape around the perimeter of the end of the firesleeve (at the banjo fitting) to make for a neater finished product. Set aside to cure per the manufacturer's specifications.
NOTE: The VA-216 Fuel Return Assy. must attach to the clamp block. Apply enough RTV to cover the end of the hose but not so much as to prevent the assembly from being attached.

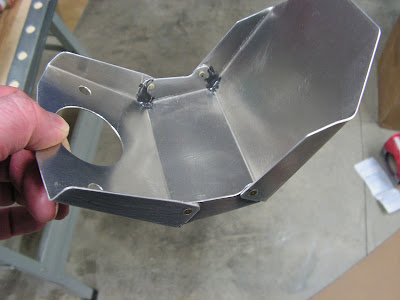
Step 5: Dimple countersink all #40 holes in the two VA-205 Drip Pans. Deburr edges and seal the corners with fuel tank sealant.
Builder's note: The design of the drip pans has changed from the one on my airplane. I don't know why the change was made and haven't seen any bulletins on it.
That's it for today's work on the RV-12 airplane.

