Showing posts with label RV-12 page 37-09. Show all posts

Monday, June 15, 2015

Vans Aircraft RV-12 Airplane Build: Final Assembly (part 1)

Reference: Page 37-09; 3.5 hours

I'm finding at this point in the RV-12 airplane construction, I'm jumping between many sections of the plans during one work session to finish things up. So from this point forward most entries will just be entitled "Final Assembly" rather than try to list all the sections worked on in the title. That being said I will still list the RV12 plan references at the top of each entry.

So for this entry I will be installing the registration number on the fuselage, fixing a brake leak and installing the fuel tank.
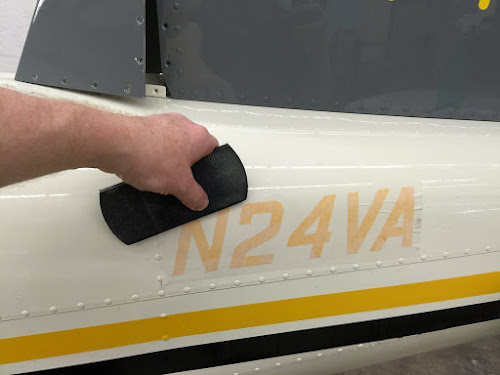


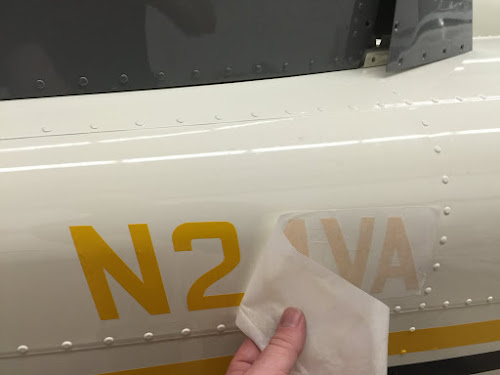
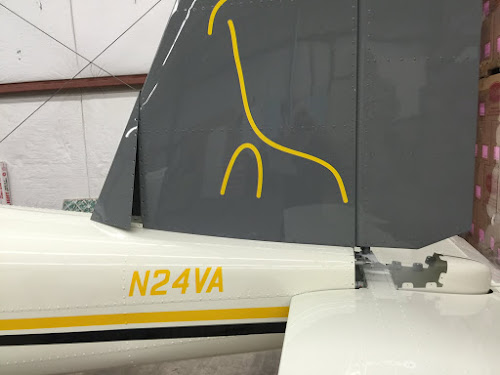
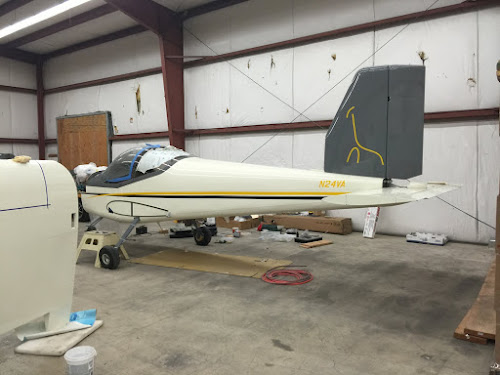
First came the registration number installation. I used vinyl ones that matched my stripping. These came from Aerographics in Loveland Colorado. Clicking on their name will send you to their website. They can also do custom graphic from your artwork such as the giraffe on the RV-12s tail. I am happy with the quality of their product and should get 8 to 12 years of life before they will need to be removed and replaced.


Reference: Section 37-09

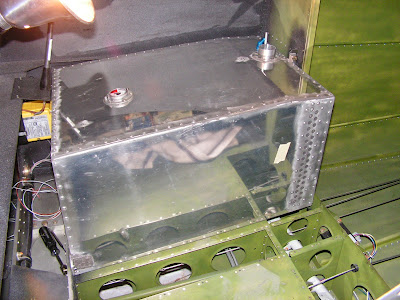
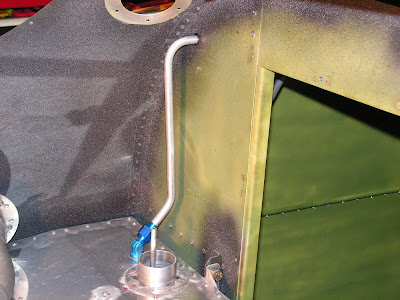
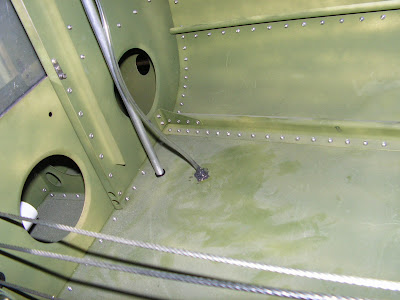
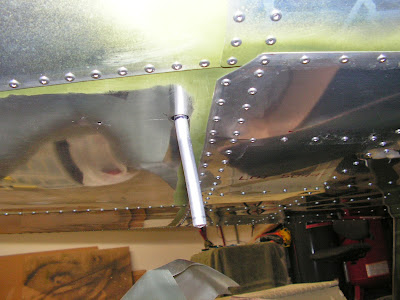
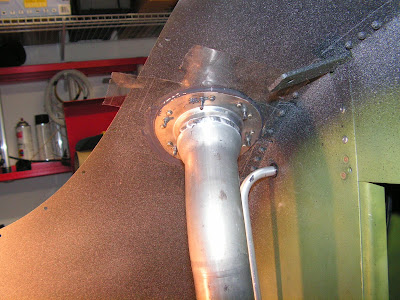
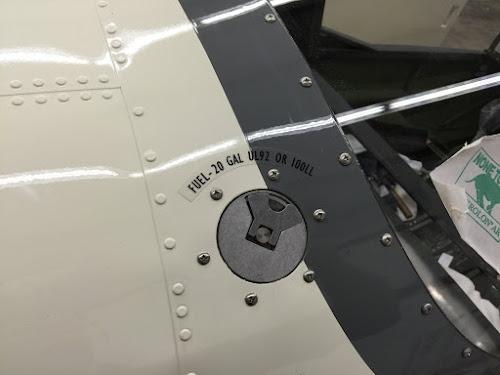
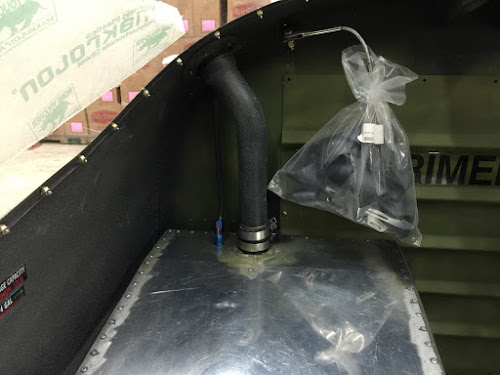
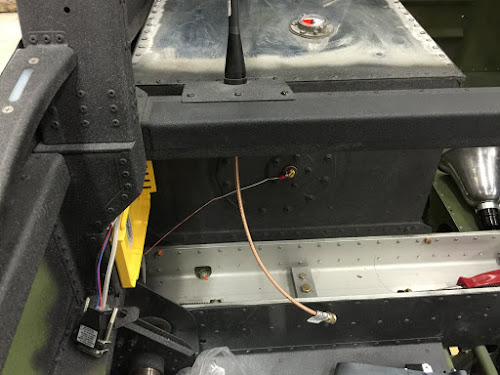
Next came the installation of the fuel tank, vent and fuel filling neck. During the installation I did install the fragmenting bolts on the forward tank mounts. This completes the installation of Section 37 except the installation of the inspection covers on the bottom of the airplane.
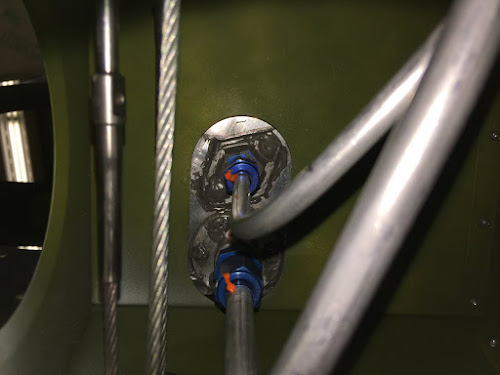


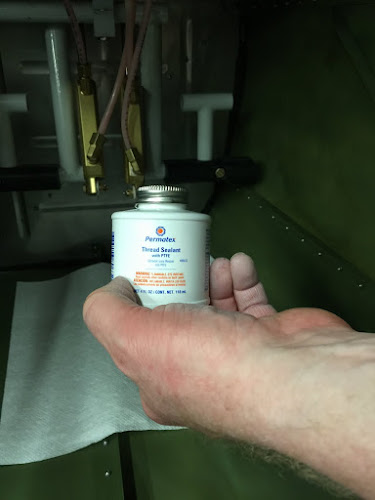
Next came fixing a brake fitting leak. Originally I used Ez-turn on these and vacuum tested them. But some of these have started leaking. So it was suggest to me by a tech counselor to remove the leaking fittings, clean them and use Teflon pipe sealant paste. Leaving the first few threads at the end of the fitting clear of sealant so no sealant is introduces to the brake system. (NOTE: DO NOT USE TEFLON PIPE TAPE!!!) After a month this appears to be working. At the same time I also replaced some of the leaking brass elbows.


That is all for this entry.

Saturday, April 19, 2014

Vans Aircraft RV-12 Airplane Build, Section 42C: Skyview Update (part 8) & Section 37 Fuel Tank

Reference for this entry: pages 42C-18, 37-08, 37-09; 6.5 hours

Today I will finish up more of the Avionics wiring and the fuel tank venting system on the RV-12.

Reference: page 42C-18

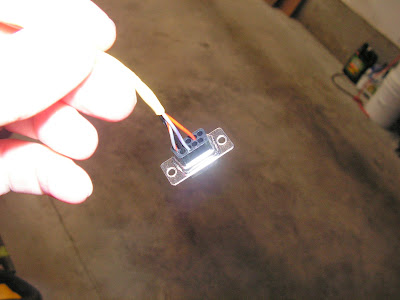
Step 1: Insert the wires from the GPS into the 9 pin Male connector asshown on page 42C-18 figure 1.


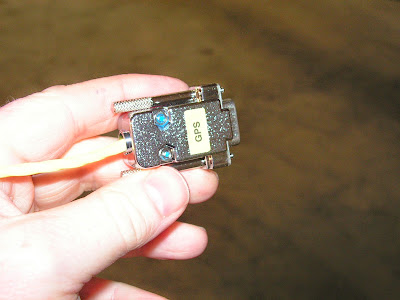
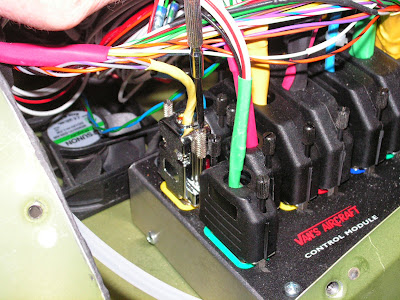
Step 2 & 3: Route the GPS wires through the cushioned clamp near the cooling fan mounted on the Base Panel. Add the Backshell and label the GPS connector. Install onto the Control Module.


This completes page 42C-18

Reference: page 37-08

Step 3: Remove the filler neck.


Step 4: Rivet the Vent Bracket to the aft side of the Bulkhead.


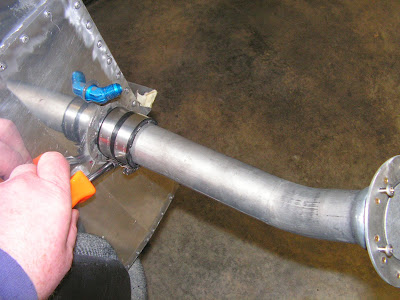
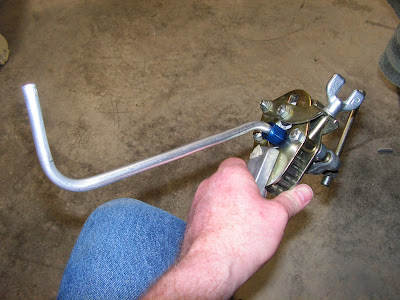
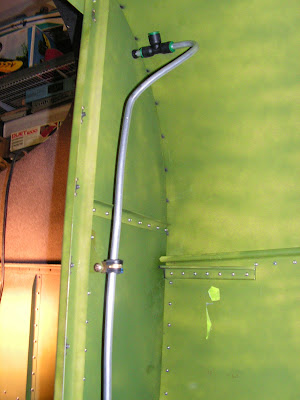
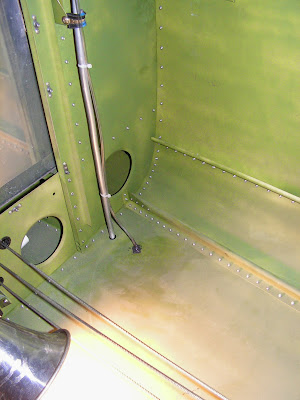
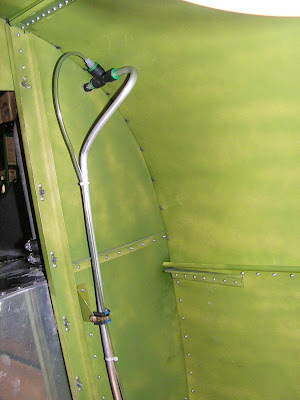
Steps 5 & 6: Install the Adel Clamp and fabricate the B & C Fuel Vent Lines.


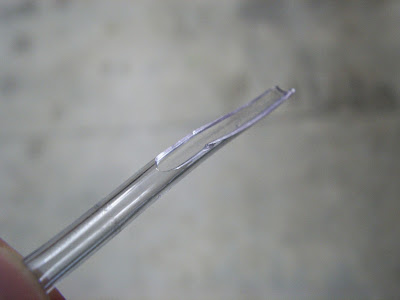
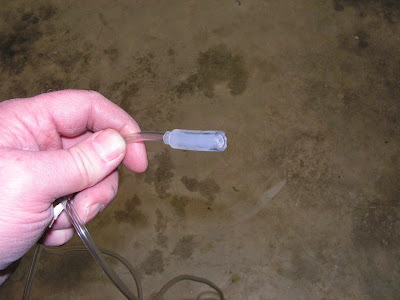
Step 7: Assembly the Fuel Vent Air line adapter.

Builder's note: By cutting the plastic line as a at an angle it was much easier to pull it through and make the adapter.


Step 8: Assembly the fuel Air Vent.

Line

Step 9: Temporarily install the fuel tank Assembly. Don't install the fuel lines at this time.


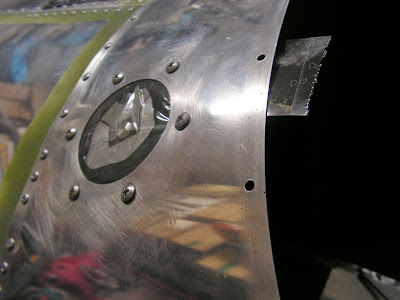
Step 11: Install the blind rivet into the bottom tail skin.

Step 12: Install the Fuel Vent Air Line. Install the fuel air line to the blind rivet.


Steps 13 - 15: Install the Fuel Vent Line. Mark the Fuel Line approximately 1/4" from the bottom of the airframe skin. Remove and bevel the vent on the forward side. Reinstall the Fuel Vent Line.


This completes page 37-08.

Reference: 37-09

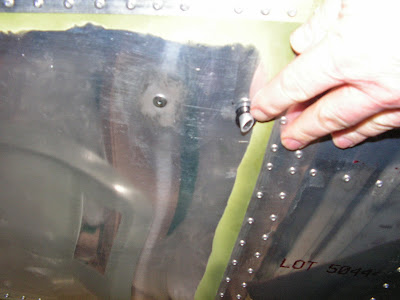
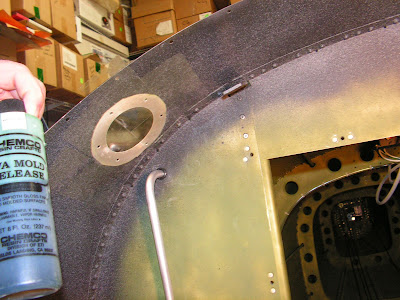
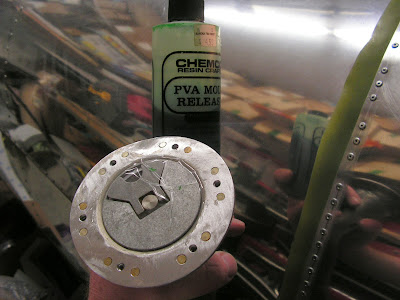
Step 1 & 2: Creating a seal between the fuselage skin and the Fuel tank Filler neck. Builder's note: I didn't reinstall the fuel tank lines at this time. Instead I put a layer of packing tape over the area the filler neck contact the turtle deck and then coated it with mold release. Also covered just the filler cap with packing tape. Next covered the flange of the filler neck with fuel sealant, reinstalled the filler neck and let it cure before removing.


This completes today's work on the RV-12 airplane.