Tuesday, June 30, 2015

Vans Aircraft RV-12 Airplane Build: Final Assembly (part 4)

Reference: Page 30-04, 33-04; 3.0 hours

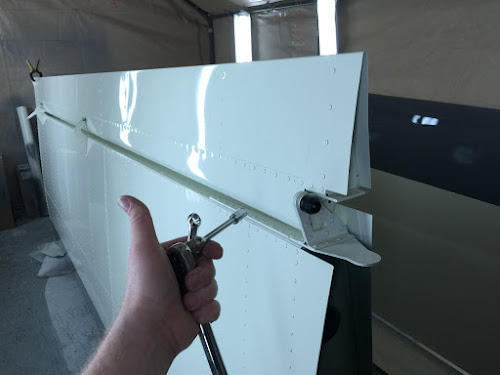
Today's work on the RV-12 centers around the finishing of the wings. i started with installing the ailerons, then moved on to installing the landing light lense and wing walks nonslip covers.


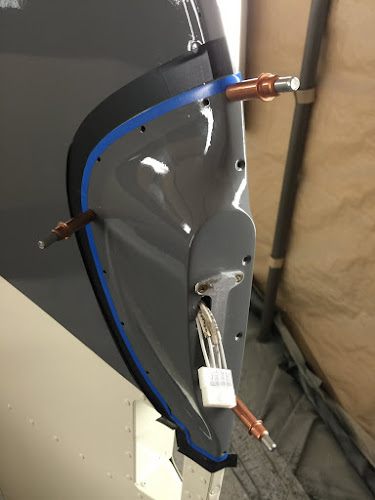
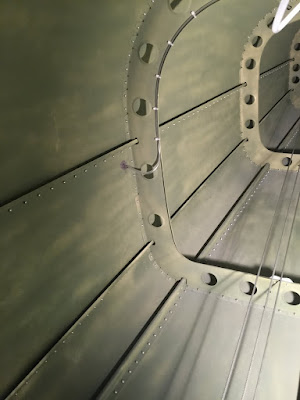
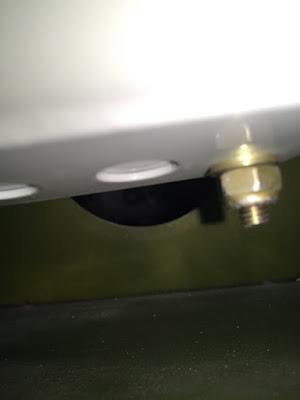
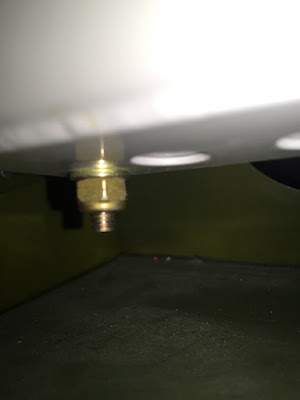
Builder's note: The yellow tape helps hold the lens in place while installing the hardware.


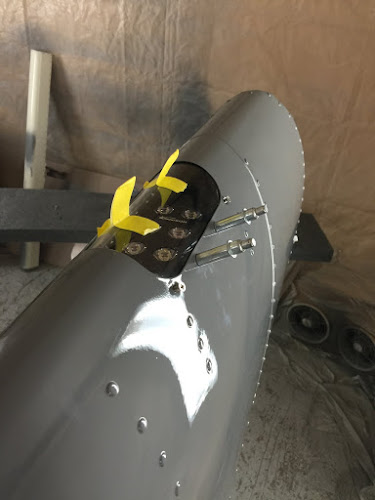
Reference: page 33-04

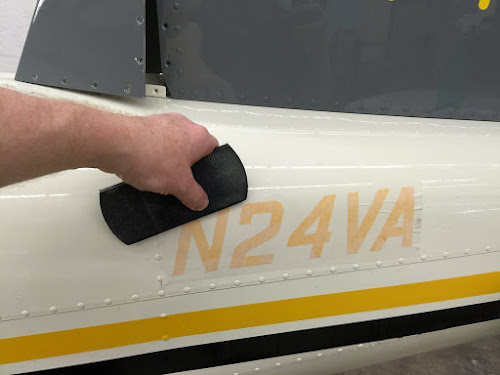
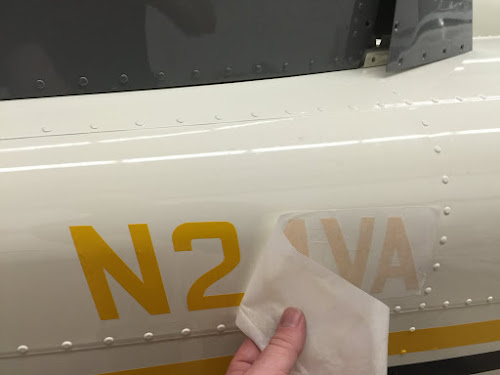
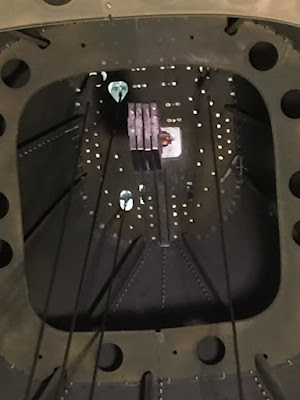
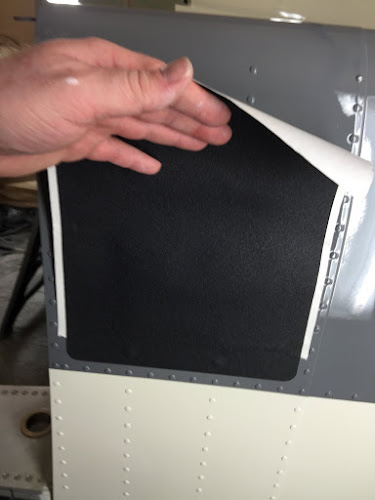
Note: I remove just a small strip of the backing to position the wing walk then worked my way up while removing the backing. Working the air out from around the rivets as I applied it.


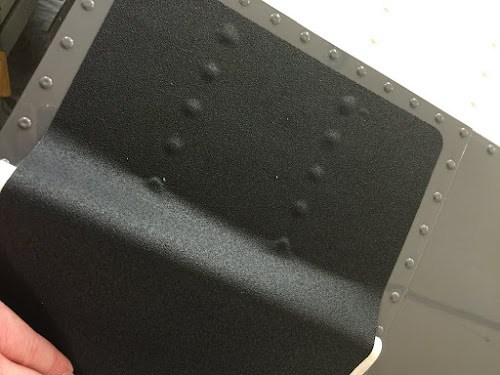
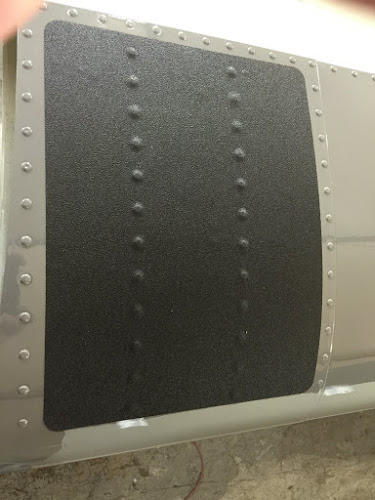
This completes Section 30 and page 33-04.

Sunday, June 28, 2015

Vans Aircraft RV-12 Airplane Build: Final Assembly (part 3)

Reference: Page 40-09; 2.0 hours

The wing painting on the Van's RV-12 aircraft is complete! I promise to post painting detail! But today I am installing the Wing tip fairings for the navigation lights. These had been pre-fitted in an early work session and now just need to be installed.


Builder's note: Blue line mask and black tape were used to keep the fuel tank sealant from making a mess (as if that were really possible!)


Builder's note: The tape is removed before the sealant sets up. Then I filled the rivet heads with Superfill epoxy. Later they will be touched up with matching paint.

This completes the installation of the nav light faring on the RV-12 wings.

Friday, June 26, 2015

Vans Aircraft RV-12 Airplane Build: Final Assembly (part 2)

Reference: Page 52-03; 0.5 hours

Today's project on the RV-12 airplane was finishing the towbar assembly. Since the towbar also serves as the rudder control lock the rudder and linkages needed to be finish first.


Builder's note: I used the scrap handle rubber to cover the "feet" of the towbar.


This completes Section 52 and this entry on my RV-12 aircraft.

Monday, June 15, 2015

Vans Aircraft RV-12 Airplane Build: Final Assembly (part 1)

Reference: Page 37-09; 3.5 hours

I'm finding at this point in the RV-12 airplane construction, I'm jumping between many sections of the plans during one work session to finish things up. So from this point forward most entries will just be entitled "Final Assembly" rather than try to list all the sections worked on in the title. That being said I will still list the RV12 plan references at the top of each entry.

So for this entry I will be installing the registration number on the fuselage, fixing a brake leak and installing the fuel tank.


First came the registration number installation. I used vinyl ones that matched my stripping. These came from Aerographics in Loveland Colorado. Clicking on their name will send you to their website. They can also do custom graphic from your artwork such as the giraffe on the RV-12s tail. I am happy with the quality of their product and should get 8 to 12 years of life before they will need to be removed and replaced.


Reference: Section 37-09

Next came the installation of the fuel tank, vent and fuel filling neck. During the installation I did install the fragmenting bolts on the forward tank mounts. This completes the installation of Section 37 except the installation of the inspection covers on the bottom of the airplane.


Next came fixing a brake fitting leak. Originally I used Ez-turn on these and vacuum tested them. But some of these have started leaking. So it was suggest to me by a tech counselor to remove the leaking fittings, clean them and use Teflon pipe sealant paste. Leaving the first few threads at the end of the fitting clear of sealant so no sealant is introduces to the brake system. (NOTE: DO NOT USE TEFLON PIPE TAPE!!!) After a month this appears to be working. At the same time I also replaced some of the leaking brass elbows.


That is all for this entry.

Saturday, June 13, 2015

Vans Aircraft RV-12 Airplane Build,Section 33: Install of the Baggage floor cover and Baggage Bulkhead

Reference: Page 33-03, page 42N-20 1.5 hours

I talked to Mike Seager about transition training for the RV-12 and the initial test flights. One question I have had is how do people do the initial preflight inspections with the fuel tank installed the tailbone bulkhead also has to be installed? He said what he has seen is to document the inside of the tailcone and then close it up. So the following pictures are for just that purpose. Note I am using the newer split baggage floor cover.


Builder's note: Rudder cables are shown with slack in them.


Builder's note: In the picture below the vent tube needs to be rotated so the tee is pointing up. This was completed but not photographed.


The two nuts pictured above are the one that attach the flaperon torque tube together on the left side of the aircraft. These set under the fuel tank and floor cover.


Feels funny to seal the tailcone up on the RV12. I did check for anything that did belong before installing the bulkhead.

Monday, June 8, 2015

Vans Aircraft RV-12 Airplane Build: EFIS Firmware Update

Reference: Dynon System Installation guide chapter 3, "RV-12 Skyview Pre-Sets Read-me" found on Van's website under downloads; 2.0 hours

So the time has come to update the firmware/software in the Dynon Skyview for the RV-12 airplane. At this writing version 12.2 has been released. Also i wanted to check the Skyview for a possible effective board listed in their service bulletins. So I down loaded the newest version on a memory stick (these need to NOT be in a file folder on the drive) and followed the Download instructions, but kept getting a loading error! As I worked through the problem I found my Skyview had version 3.3 loaded on it as show below.


Called Van's Aircraft, then Dynon who said the firmware was too old to update directly to 12.1 and to contact Van's for version 4 or 5. Van's started searching for the older version (which they did find later and sent me a link.) In the mean time I started looking at the software on the memory stick that came with the Skyview. Up to this point I figured it was a duplicate of the software in the Dynon Skyview, but it turned out to be a copy of version 10.1. I figured it was worth trying to update to 10.1. Well it worked! I was able to update to 10.1 from the memory stick and then updated to version 12.2.


With the firmware updated it was time to check the electrical board in the unit against the service bulletin. Note the MAC address in the picture above. This is what is needed to check the Skyveiw for the defective board by inputing it into the Dynon website under service bulletins. Then it will tell you if the unit is OK. You can see the results from my unit below.


Next came the update for the transponder. Note how the STATUS line is yellow on the setup page. This indicates my Transponder needed to be updated.


The last thing todo is to sticker the transponder as outlined in the service bulletin for the transponder from Van's Aircraft is to sticker the unit as pictured below.


I also ran the setup, test and calibration for the autopilot servos. It's pretty strange seeing your controls move from one extreme to another all by themselves! I looking for a reference as to the wether these updates need to logged in the aircraft logbooks, but my guess is they do. Until next time!