Thursday, August 27, 2015

Vans Aircraft RV-12 Airplane Build: Transitional Flight Training

It's been about 5 years since I flown regularly. So the first order of business was to get current in a Cessna 150 and get a few hours of flying, all air work, including stalls, step turns, slow flight, takeoffs and landings. With this under my belt I scheduled parts of two days for transitional training with Mike Seager. If you look on the Van's Aircraft website you will find him listed under flight training. Vernonia, Oregon is a quant little town West of Portland, Oregon. There are some neat restaurants and we stayed in a nice little Bed and Breakfast called Rock Creek B&B.


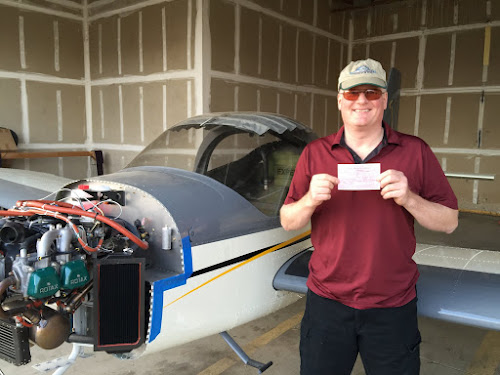
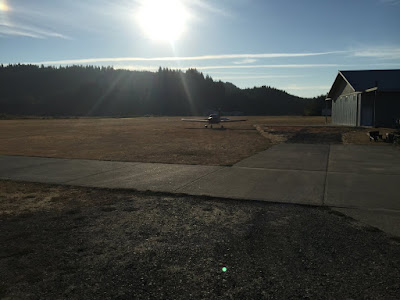
So that brings me to the transitional training. Mike and I started with about an hour of ground training centered around flying an RV airplane. Then the flying started after taking off from Vernonia's airport (a small grass strip) we headed to the airport at Scappoose for pattern work. With 5100 feet of runway there is plenty of room to learn the intricacies of the RV-12. Then it was back to Vernonia a coupe of hours of rest (ay least for for me, Mike had a second student) and then back up for another 1.6 hours of flying in the afternoon. Day two was similar but without the ground instruction. This is longer than some may need, but I'm happy I spent the time.


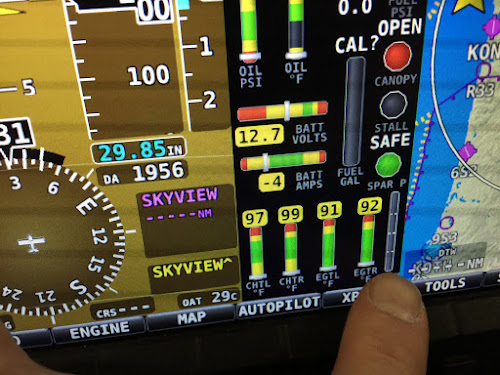
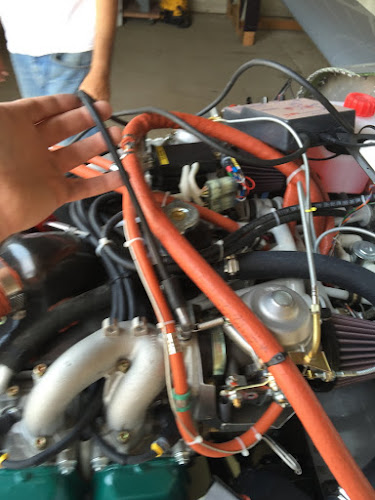
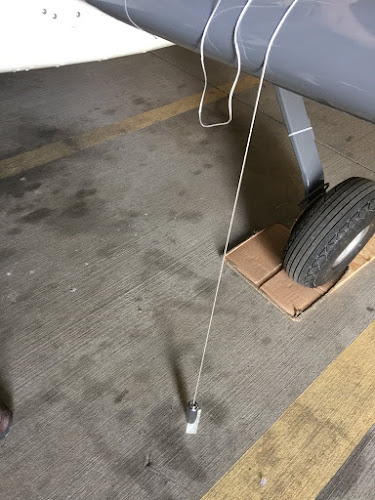
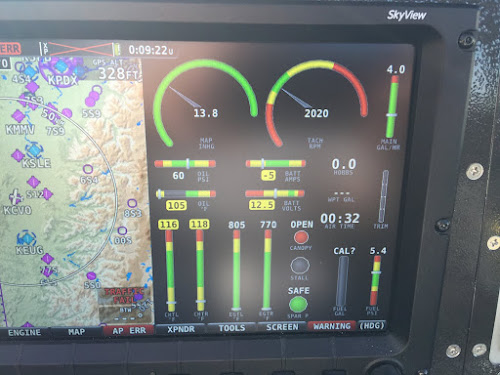
What did I learn? I learned how to fly with an EFIS, which is just different from steam gauges. How to work the Auto Pilot. Some of the idiosyncrasies of operating the Rotax 912 engine. This includes how much the Rotax's RPM is affected by in flight loading and unloading of the prop. Flying with a castering nose wheel. That ham-footed rudder work that works fine with a Cessna doesn't "fly" with an RV. Slipping the RV-12 to loose altitude on final. And much, much more.

So next comes the intial test flight and phase 1 fly off. Stay tuned!

Monday, August 24, 2015

Vans Aircraft RV-12 Airplane Build: Newest RV-12 in the World (at least for a short time)

With the RV-12 completed, I've been working with Gary Brown a DAR in Independence Oregon to obtain a airworthiness inspection and certification. Today was the day for the inspection. After looking it the airplane, Builder's Log, Maintenance Logbooks and covering the Operating limitations and other paperwork I was awarded an Airworthiness Certificate!


Gary had a few suggestions that make sense. First Van's Aircraft is working on a split baggage compartment bulkhead. He said get it or build it, as it will allow inspection of the tailcone without removing the fuel tank. I'm planning to do this at the first conditional inspection.

In the picture below you can see the split floor panel that Van's offers that I installed previously.


Second tie-wrap the fuel pressure sensor to the radiator hose (as pictured below.) This will help reduce vibration on the sensor.


With the inspection out of the way next is to get myself ready for flying the RV-12. For this I have scheduled time with Mike Seager

Wednesday, August 12, 2015

Vans Aircraft RV-12 Airplane Build: Final Assembly (part 16) Elevator trim Indicator, Run Up and Finish Up

Reference: RV-12 Acceptance Procedures

Working on the RV-12 today I notice there was no indication for the Elevator trim. And no mention of calibrating it in the plans. Looking at the Dynon guide there was a brief statement about calibrating it.


So following the setup wizard in the hardware calibration menu I set the calibration up but didn't set a take off mark as I have no idea were it will need to go.


First conditioned the brake pads per Matco brake instruction. Then came the time to warm the engine up and do a full power run up at operating temperature. My max rpm was 5100 rpm with the prop set at 71.4 degrees. This is too high and out of range. So I added 0.3 degree of coarseness to the pitch and reran it. This time I had 5010 rpm which is in the acceptable range. During this process I also went out to the compass rose and calibrated the magnetometer.

After removing the cowl and inspecting the engine I found some wear on the cowl from an exhaust spring. So I rotated the spring 180 degrees and put some RTV on it. Also put a aluminum foil patch over the wear. If this doesn't solve the problem I will need to reform a deeper impression in the fiberglass.


Removed the gascolator and cleaned the screen. Then Safety wired it back in place.


Next came the mapping of the fuel gauge. Sorry no pictures. Basically I pumped the system dry and then added 2 gallon at a time and told the EFIS system of each addition. Then at 4 gallons I also checked that the "NO FLY" indicator was in the correct spot in the mechanic fuel gauge. After that continue adding fuel up to 16 gallons were the electric gauge won't read any fuller. Followed the guide lines in the RV-12 Acceptance Procedures as it is required to roll the plane up on blocks and then off at certain time in the process.

8/13/15: Closing thought: I received word from Gary Brown the FAA accepted my paperwork and we scheduled for the inspection. Also I am schedule at the end of the month for transition training with Mike Seager. This project is finally winding down after 4 and a half years.

Tuesday, August 11, 2015

Vans Aircraft RV-12 Airplane Build: Final Assembly (part 15) Final EAA inspection

Reference: Page 11-09, 33-02, 35-05, 37-10, 42N-20

In preparation for the Final EAA technical inspection I installed all of the inspection panels, cowl and the interior. Thus all of the reference listed above. Also I didn't take many pictures today.


First came the weighing of the airplane. Wait for it... total 763.8 pounds. Heavier than I hoped. Next Ernie showed me how to sync the carburetors and set the idle. Running it through the various RPM upto 3000 rpm. Below is the tool he used to sync the carbs and hose hookup.


Last but not least we safety wired the throttle nuts.


After all of this Ernie left me to finish the measuring for the weight and balance.


Finished up the measurements and calculation and submitted the paperwork to Gary Brown who is a DAR here in Oregon to get my DAR inspection. I'm not going to go into detail of how to complete the paperwork because I think this varies a little from region to region. As the old saying goes "your milage may vary". So talk it through with your DAR or FAA examiner.

Friday, August 7, 2015

Vans Aircraft RV-12 Airplane Build: Final Assembly (part 14) First Engine Start!

Reference: RV-12 Production Acceptance Procedures, Rotax SI-912-018

Today is a big day for the RV-12 airplane. I have been working through the Production Acceptance Procedures step by step. I'm now up to the point of starting the engine for the first time.

Couple of highlights. I used Dex Cool mixed 50/50 with distilled water for the cooling system and added 3.2 liters of AeroShell Oil Sport Plus 4 to the oil (it came with the engine.) Then purged the oil system per SI-912-018. This requires building (or buying) some oil lines and fittings to pressurize the oil reservoir with up to 15 psi of air and rotating the prop until oil pressure registers on the EFIS system.


Next came the big moment, with extinguishers on hand we started the engine. Oil pressure came right up. But there was a problem. Why is the battery not charging?


After some searching the problem was a loss wire on the regulator pictured below.


With that fixed the charging system worked just fine. I have started going through all of the Service Bulletins to ensure everything is done and documented in the maintenance records. I am also continuing with the Production Acceptance Checklist. Next time will cover the final technical inspection and weight and balance.

Saturday, August 1, 2015

Vans Aircraft RV-12 Airplane Build: Final Assembly (part 13) Closing Forward Fuselage

Reference: Page 45A-10, 42C-16, 34-11; 4.0 hours

Now that the RV-12 is at the airport I can adjust the radio volume for the EFIS as it requires a radio signal and ATIS is ideal for this.


This completes page 45C-10.

Reference: Page 42C-16

Next came the testing and final install of the ELT. To complete the G switch test I fabricated my own test plug using a 15 pin female D-Sub and a jumper wire. And of course the test have to be done 5 minutes after the hour. Sorry I didn't photograph the test plug.


Then came the install of the Forward fuselage.


Reference: page 34-11

Now with the forward fuselage on I can ensure the canopy handle works prperly with just one hand. And after some adjustment it works fine.

This completes this entry for the RV-12 final assembly.