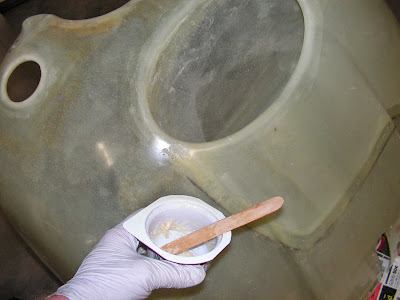
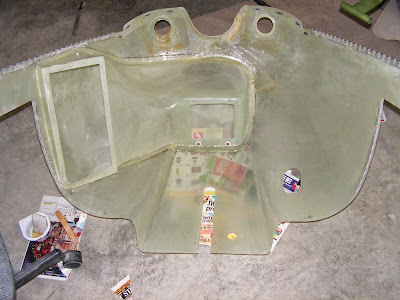
Today's work on the RV-12 deals with more fiberglass work on the cooling duct and cowl. The steps aren't necessarily in the order they appear below. Also I decide to seal the inside of the lower cowl with epoxy resin. I didn't thin it and it only took abou 2oz. of resin.
Reference: Page 49-13 of the RV-12 airplane plans
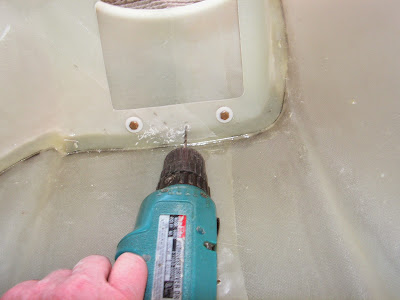
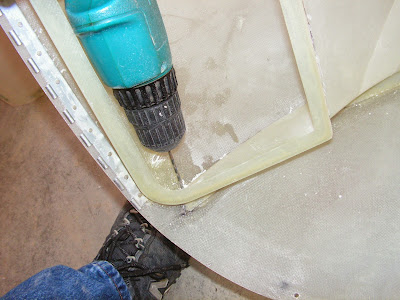
Step 14: Drill #30 two drain holes in the COWL 12 COOLING DUCT as shown in Figure 2. Be careful to not drill through the outside of the COWL 12 BOTTOM.
This completes page 49-13.
Reference: Page 49-14 Step 11: Remove clecos and fill holes with flox epoxy mixture. Double check that drain holes are still open.
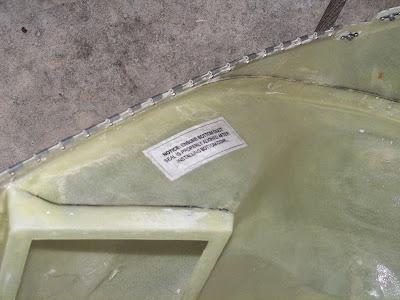
Step 12: Cut out the label printed on Page 49-17 (or photo copy label if preferred) and position on top of the COWL 12 COOLING DUCT. Brush over the label with epoxy resin so that the label is well coated and bonded with the cooling duct.
This completes page 49-14.
Reference: Page 49-15
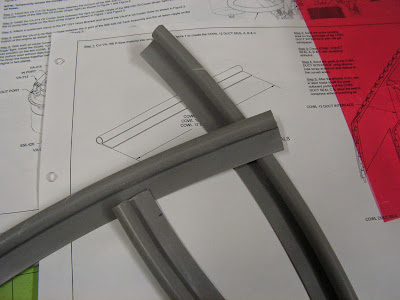
Step 1: Cut VA-198 P-Seal material into lengths shown in Figure 1 to create the COWL 12 DUCT SEAL A, B & C.
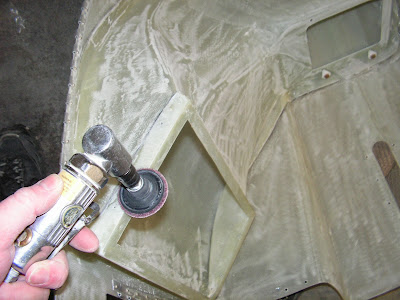
Step 2: Sand the entire bonding area on the perimeter of the COWL DUCT INTERFACE with 100 grit sandpaper.
Then coated the interior of the cowl with epoxy using an old store gift card as a squeegee for the epoxy resin.
This completes today's work on the RV-12 airplane kitted by Van's Aircraft.

