Today's work on the RV-12 airplane is a combination of installing the wing tip lights and the new wing connection system. I will say some of these wire runs would have been much easier to install back when the other wiring was going into the wing.
Reference: page 31A-04
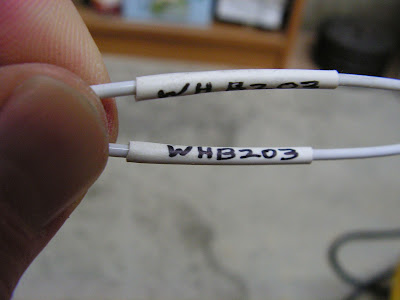
Step 4: Fabricate two WH-B203 Strobe Power Wires 153 inches long from 18 gauge wire.
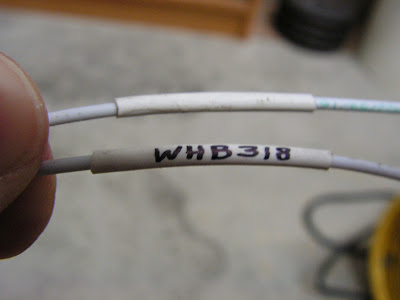
Bold Step 5: Fabricate two WH-B318 Strobe Synch Wires 153 inches long out of 18 gauge wire.
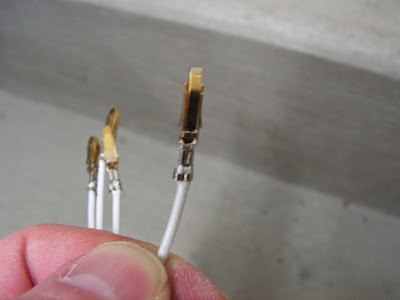
Step 6: Strip one end of all the fabricated wires then crimp on a interconnector pin.
Step 7: NA (tip lights have not been installed) Remove the Wing tip Nav Lights and pull the male Molex connector housing through the oval shaped hole in the wing Extensions.
Reference: Page 40-08
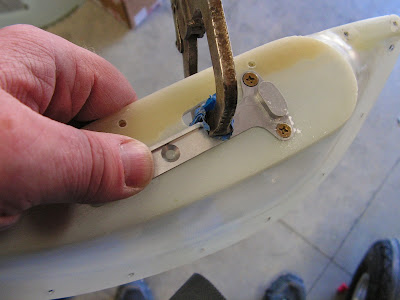
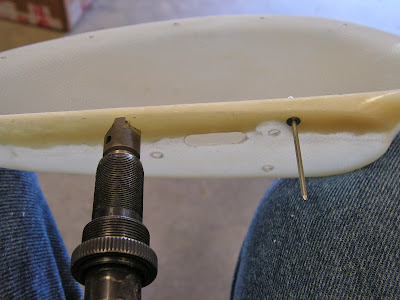
Step 1: Using the dimples molded in the face of the Extensions to align the Wing tip lIght mounting Brackets. Clamp the bracket in place then match dril#27 the holes in the mount brackets into the extensions.
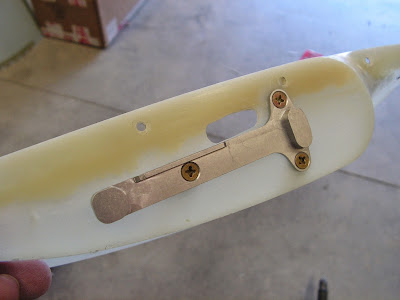
Step 2: Done previously Remove the material from inside the oval area on the extensions to the scribed line.
Step 3: Machine countersink 120 degree all attach holes in the upper flange of the Extensions for the head of a CS4 rivet. Finish the edges of the part.
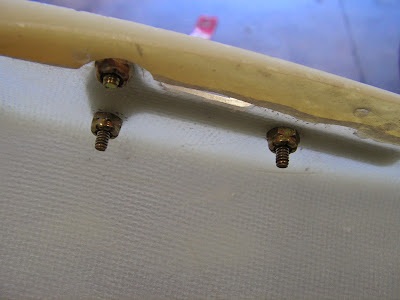
Step 4: Attach the Wing Tip Light bracket using the called out hardware.
Step 5: Make two WH-B211 Nav/Strobe Ground Wires 6 inches long from 18 gauge wire. Attach a ring terminal on one end and a female Molex pin on the other of each wire.
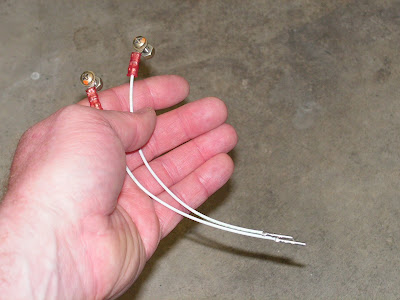
Step 7: Trim and strip the WH-212 Nav/Strobe Power Wire in each wing tip to match the length of the Ground wires. Crimp a female Molex pin onto the end of each nav/strobe power wire.
This completes today's work on the project. I have jumped over a few steps but these will be completed in the next few entries.

