Today's work of installing the cooling duct into the cowl of the RV-12 airplane has to be done in one session. So let's get to it.
NOTE: Prepare all bonding surfaces with a light coat of epoxy resin before applying flox epoxy resin mixture.
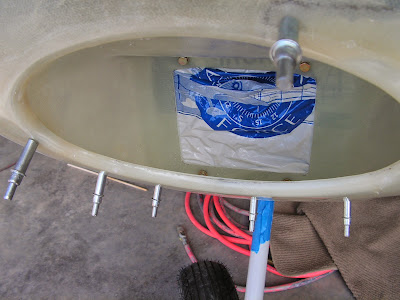
Step 1: Install the Oil Cooler Box Assembly. Builder's note: I covered mine in a plastic bag before mounting.

Builder's note: I precut all the needed fiberglass strips before mixing the epoxy.

Step 2: Prepare approximately 4-5 fluid o.z. (1/3+ of a 12 oz. Solo Drink Cup) of flox epoxy resin mixture. Mix in flox until the concoction is just thick enough not to pour from the cup.
Step 3: Place the flox epoxy resin mixture in a appropriate size ziplock bag, remove all air and seal the bag. Cut one corner of the bag to produce a 1/8 - 3/16 inch wide hole.

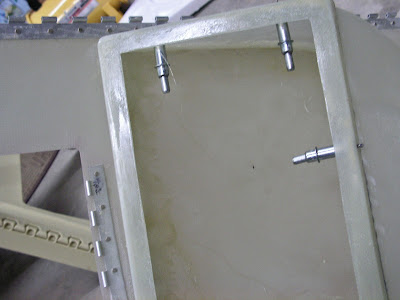
Step 4: Apply a 3/16 inch bead of flox epoxy resin mixture around the aft perimeter of the COWL 12 COOLING DUCT, slightly squeeze the aft ends of the cooling duct together (a helper is a good idea), then slide the COWL 12 DUCT INTERFACE in place (avoid wiping the flox mixture). Cleco the duct interface to the cooling duct from the inside.
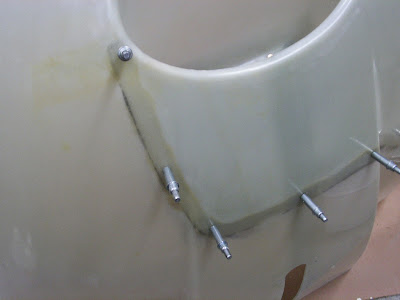
Step 5: Apply a 3/16 inch bead of flox epoxy resin mixture to the flange areas of the COWL 12 COOLING DUCT. Cleco the cooling duct to the COWL 12 BOTTOM. Use pop-sicle sticks to remove excess flox epoxy resin mixture.


Step 6: Install fiberglass strips 1 3/4 inch wide bridging the joint between the COWL 12 DUCT INTERFACE and the COWL 12 BOTTOM.
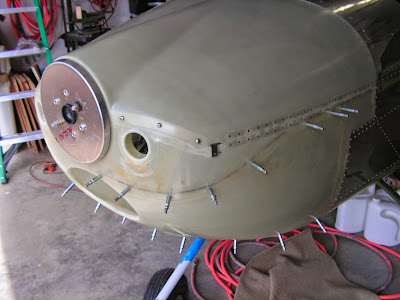
Step 7: Install 1 3/4 inch wide fiberglass strips along the upper aft edge of the COWL 12 COOLING DUCT and the COWL 12 BOTTOM junction.
Step 8: Install 1 3/4 inch wide fiberglass strips to the COWL 12 BOTTOM and COWL 12 COOLING DUCT Air Duct in the upper right region of the oval shaped air inlet on the front of the cowl.
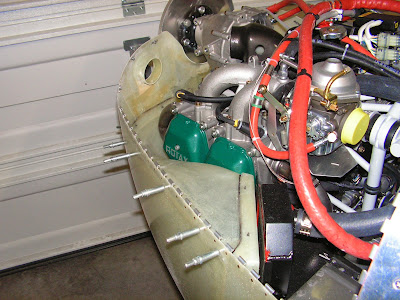
Step 9: Install both the COWL 12 BOTTOM and COWL 12 TOP to the aircraft with all pins and screws until resin is fully cured.

Step 10: Look on the inside of the oval air inlet flange at the front of the COWL 12 BOTTOM. If gaps between the bottom cowl and the COWL 12 COOLING DUCT are large, fill them with a flox epoxy resin mixture. Filled the minor ones with West Systems epoxy and fairing filler. If Sand this junction smooth to blend the lip of the oval air inlet to the inner surface of the cooling duct.

This completes today's work session.

