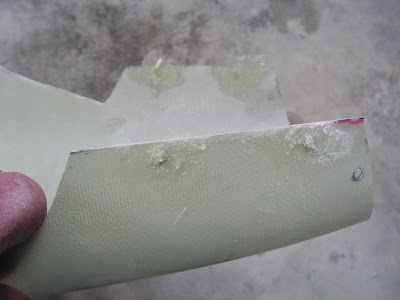
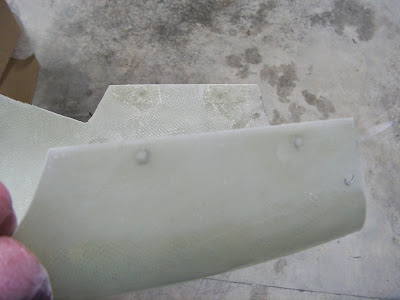
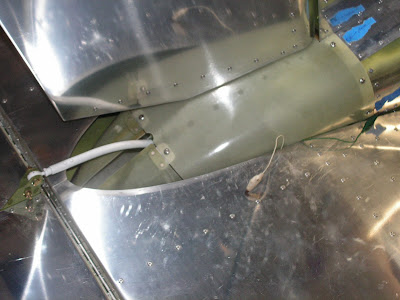
Yet another entry on the installation of the RV-12 airplane's tailcone fairing. I was not very happy with the fit of the two halves of the fairing after I had drilled the attachment holes. So I fill the screw holes with epoxy and fiberglass and redrilled them. After that I had to remove some material where they join together (see pictures below). This may or may not have been avoided if I had removed the stabilator during the process.

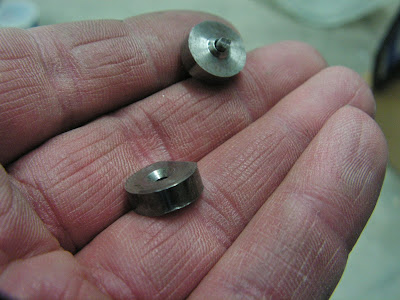
Step 1:Make a drill jig with a #6 screw and nutplate by threading the screw through the back of the nutplate.
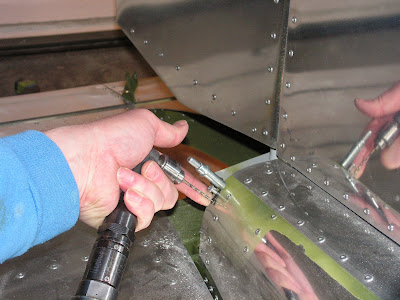
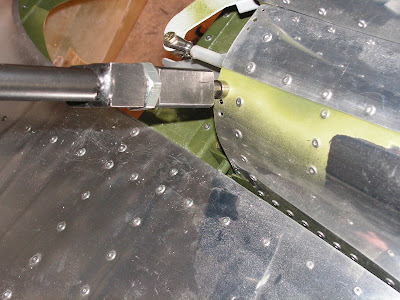
Step 2: Match drill #40 one of the attach holes into the tailcone Assembly. Cleco taht hole and then drill the second hole. Do this for each nutplate.
Step 3: Tap the two nutplates called out by Van's aircraft in the RV-12 plans on page 12-10 figure 1.

Step 4: Deburr and dimple the #40 huntplate rivet attach holes in the tailcone.
Builder's note: Some of these hole are hard to get to with standard rivet squeezer, so I used a pop riveter dimping set as needed. It was purchased from Aircraft Tool Supply.
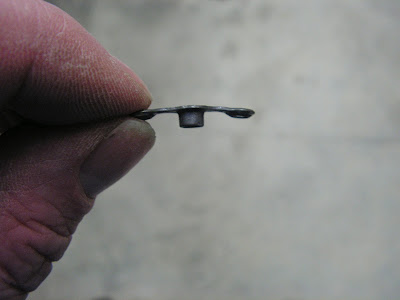
Step 5: Dimple the nutplates and bend them to fit the tailcone's shape.
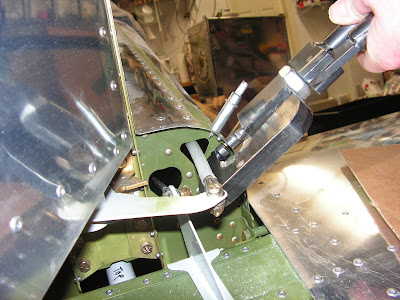
Step 6: Rivet the nutplates to the tailcone using the called out rivets.
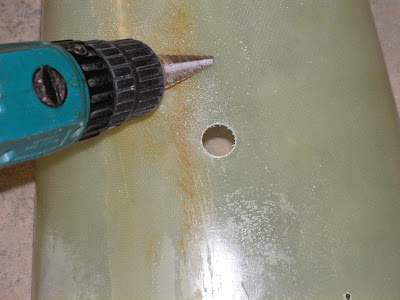
Step 7: Drill a 3/4" hole using a step drill using the scribed line as a guide on the bottom of the tailcone fairing.
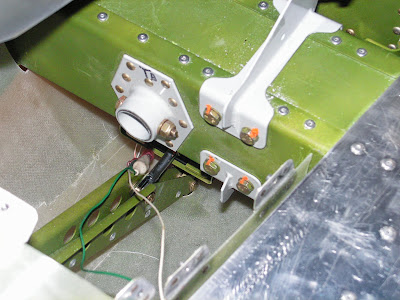
Step 8: Install the Trim/Servo Assembly.
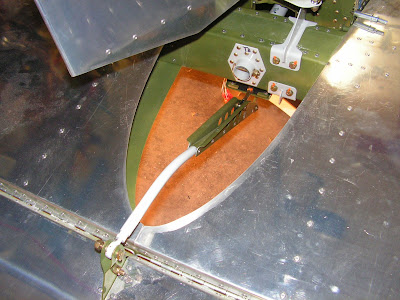
Step 9: Activate the Trim/Servo to be full retracted to check for clearance of the Trim/Servo arm.
Step 10: Attach both the upper and lower fairings.
This completes today's entry and work on the RV-12 airplane.

