Today's work is again dealing with fitting the tailcone fairing on the RV-12 airplane.
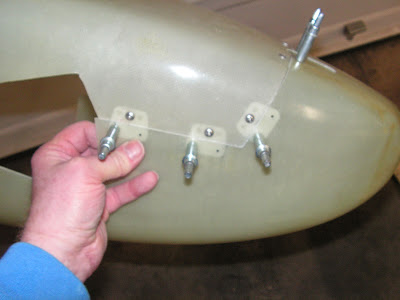
Step 1: Cleco the aluminum tabs to the lower fairing and install the AN526C632R8 screw in through the upper tailcone fairing into the tabs.
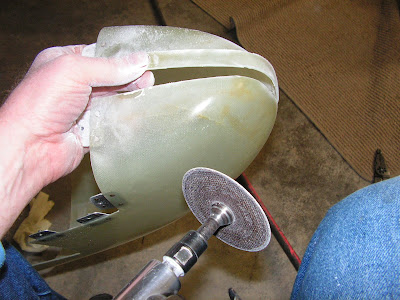
Step 2: Mark, separate and sand an even gap (1/32 to 1/16") between the mating surface on the upper and lower fairings.


Step 3: Countersink #40 the rivet holes in the lower fairing

Step 4: Without over driving the rivets, rivet the tabs to the lower fairing using the rivets called out by Van's Aircraft.
Builder's note: I roughed the mating surface on the fiberglass and aluminum tabs. then epoxed the tabs in place setting the rivets while the epoxy was still wet.


Step 5: trim the aft slot to the scribed lines in the lower fairing.

Step 6: Attach the two fairing piece together.

Step 7: NA as the rudder is already installed.
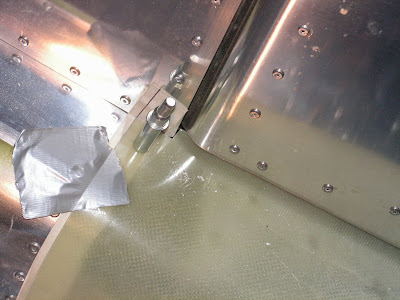
Step 8: Align the forward edge of the fairings with the fairing line on the masking tape. Adjusted the fairing as required to maitain a 1/8" gap between the upper fairing and the bottom of the rudder.

This completes page 12-08
Reference: 12-09
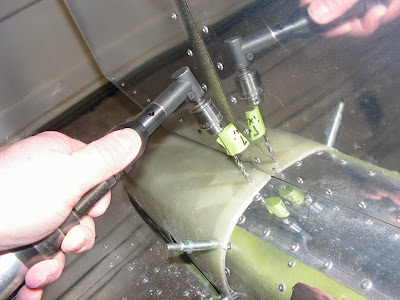
Step 1: Drill #40 the Upper tailcone Fairing at the inboard attach hole location and cleco the hole.
Step 2: Drill #40 the inboard hole in the left lower tape and then cleco.

Step 3: NA Install stabilizer.
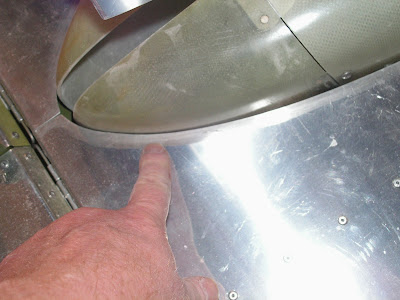
Step 4: Adjust the fairing to provide at least a 1/8" clearance between the fairing and stabilizer skins.
Step 5: Repeat steps 1 & 2 for the right side of the tailcone fairing. Recheck clearances.

Step 6: With the fairings clecoed in place drill #40 the remaining fairing mounting holes into the tailcone.

Step 7: After deburring and removing any chips, Reattach the fairings and final drill #27 the mounting hole with the modified for fiberglass drill bit.
Step 8: Check the clearance between the stabilator assembly and the fairing through the entire travel of the stabilator. Mark and trim as needed to allow for at least a 1/8" clearance.

This completes page 12-09.

