Today continues the work on the RV-12 aircraft canopy frame and the first (of many) installation of the canopy frame onto the airframe.
Step 4: Measure mark and drill the four side canopy angles. See the illustrations provided by Van's Aircraft on page 34-02 for dimensions.

This complete page 34-02.
Reference: RV-12 airplane plans page 34-03
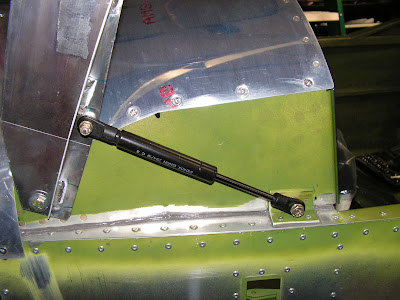
Step 1: Attach the canopy frame and struts to the fuselage.
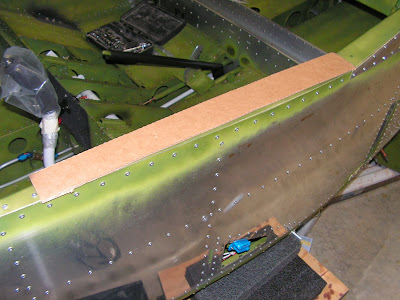
Step 2: Pace 1/8" cardboard spacers between the canopy frame and the fuselage canopy decks on the airframe.
Step 3: With the canopy frame closed check the edge clearences as called out by Van's aircraft and bend the frame as needed. Also make sure the frame doesn't catch on the insturment panel top.
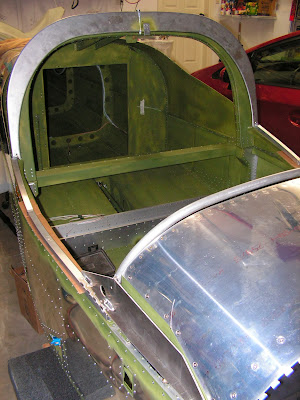
My frame did required bending. Both for the last step and for the next entry, but more on that later.

