This entry will complete the fuselage side of the Wing electrical interconnectors for the RV-12 airplane.
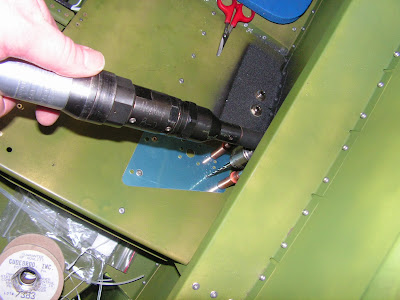
Step 1: Position the F-00033 Wing Electrical Template on the F-1226-L Seat Ramp Florr.
Match drill #30 the four holes into the seat ramp floor. Position the wing electrical template on the right side of the aircraft then match-drill the right side seat ramp.
Remove the template and final-drill #19 all eight holes.
Step 2: Tap 8-32 the four holes in both the F-00034-L and -R Wing Electrical Brackets.

Step 3: Tie-wrap and secure all wires.
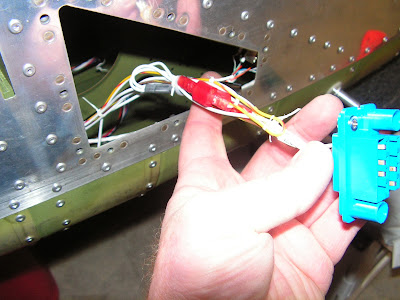
Step 4: Install the Floating 8 Pos Connector Female to the F-00034-L Wing Electrical Bracket.
Install the ES-00078 Floating Connector Male to the F00034-R Wind Electrical Bracket.
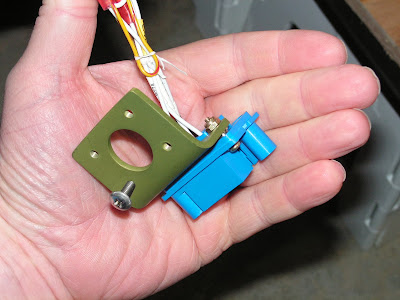
Step 5: Install the Wing Electrical Brackets to the Seat Ramps using the mounting screws.

That completes this entry. There is still a finishing plate that goes over the wing electrical plug that will be installed later. So I am done messing with wiring for now and next time will go into installing the Firewall Stiffener Retrofit kit for the RV-12 aircraft.

