Today is a continuation of the wiring in the Vans Aircraft RV12. Updating to the SkyView EFIS has made the wiring more intersting, bur this is a great ELSA aircraft kit. It nice to see Van's has put so much work and thought into these upgrades.
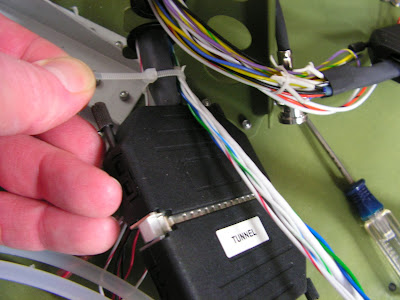
Step 1: Remove the d-sub backshell from the main 37-pin d-sub connector on the WH-RV12-TUNNEL harness. Insert the RV12-MUSIC harness, WH-P30 Trim Wires and WH-RV12-PTT-P and WH-RV12-PTT-CP Push To Talk Harnesses through the heat shrink and into the correct pin locations on the 37-pin d-sub male connector as shown in Figure 2. Check with a gentle tug that each wire has snapped into place. Slide the heat shrink supplied with the tunnel harness up the wires until its length is centered about the exit of the backshell then activate the heat shrink. Re-install the d-sub backshell.
Reference: page 42D-18
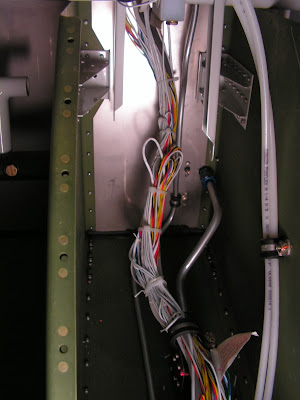
Step 3: Tie-Wrap the WH-RV12-TUNNEL harness to the Aft Pitot Line where the wires exit the backshell on the harness.
Tie-Wrap the WH-RV12-OPTIONAL harness to the WH-RV12-TUNNEL harness where the wires exit the backshell on both harnesses.

Step 4: NA The Over Rudder Wireway has not been installed.
Step 5: Pull the excess from the WH-RV12-TUNNEL and WH-RV12_OPTIONAL wiring harness into the tunnel area. Loooop then tie-wrap the excess wires back on themselves. Use a generous radius six times the diameter of each bundle.
That's it for today.

