Today starts a new section of building the RV12 airplane. I'm also changing the format of the blog and am going to paraphrasing each step verse recording them verbatim from the plans. The steps will still be numbered so you can match up the pictures with the steps in your plan.
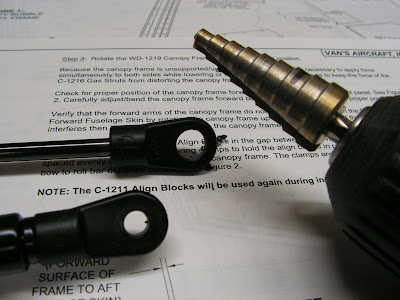
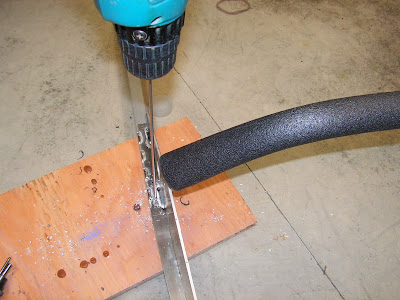
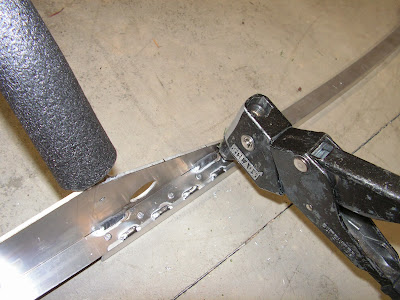
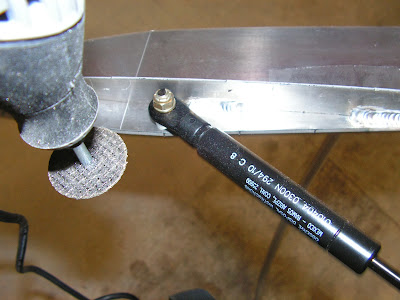
Step 1: Drill both ends of the canopy gas struts. The plans were updated to version 3 on 6/8/12 and the hole sizes changed. One is now 1/4" and the other is 3/8". Yes I used a unibit and it worked well.
Step 2: Countersunk the two holes in the frame to fit a #10 screw. According to Van's Aircraft these should be either flush or can protrude up to 1/32".

Match drill the rivet holes int the canopy frame, deburr and install blind rivets as called out by Van's Aircraft on page 34-02 figure 2.
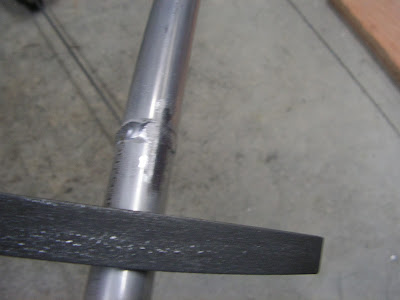
File and sand the weld on the center of the canopy's front bowonly where the canopy plastic will sit. There is a detail drawing in the plans on page 34-05 that will help.
Attach the gas struts top the canopy frame with the included hardware. Note the strut cylinders go towards the front of the airplane.
Next trim the gas strut attach screws (the ones that attach to the canopy frame) so that only 2 threads are sticking out past the end of the nuts.
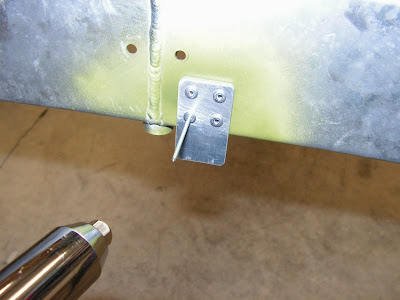
Step 3: Position the Latch Handle Stop on the Canopy frame. The dimensions are given on page 34-02 figure 2 of the RV-12 airplane plans. Deburr and attach it using the rivets called out.

That's it for todays work and entry. So long until next time.

