After a little respite, it time to start back on the canopy of the RV-12 airplane kitted by Van's Aircraft.
Reference: page 34-03
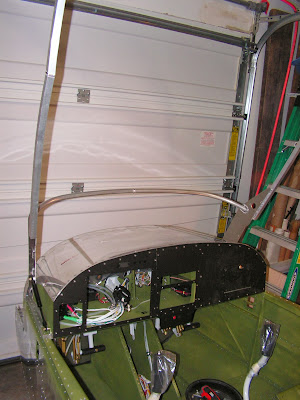
Step 4: The kit comes with these small wooden blocks that are used to set up the correct spacing between the canopy bow and the roll bar. These blocks will be used again during the main landing gear installation, so don't throw them away!
It should be noted that the canopy frame needed a lot of stretching and adjusting to get the required fit to the fuselage sides. Even so I ended up adding spacers under the canopy skirts. I'll say more about that in a later entry.
This completes page 34-03.
Reference page 34-04
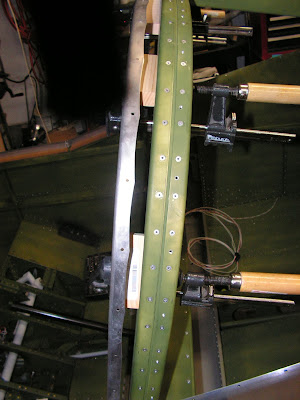
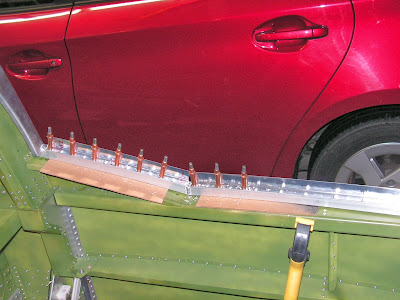
Step 1: Now is the time to flute the Canopy attach angles to match the curve of the canopy sides. The flutes should bump up away from the frame and are made between the predrilled holes. The dimensions for the placement of these are shown on page 34-04.
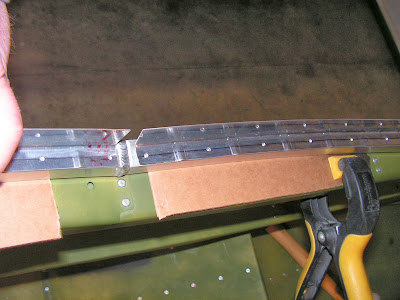
Step 2: Match drilled #30 and clecoed the angles in place. Work from one end to the other of the attach angle.
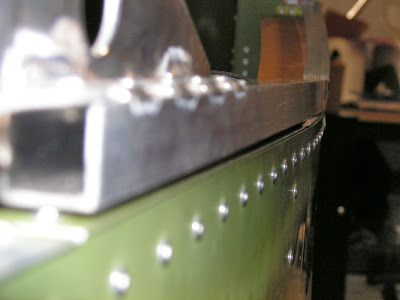
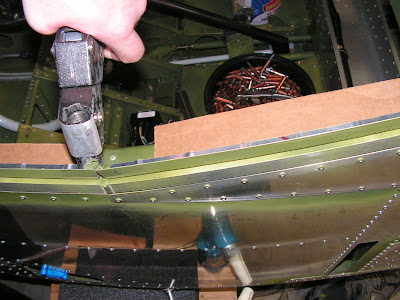
Step 3: Remove the Attach angles from the RV-12 canopy frame, deburr (I also primed them) and then reattach them with the LP4-3 rivets called out by Van's Aircraft. In deburring the edges I took the time to make sure they were smooth so they wouldn't scratch the canopy.
That's it for page 34-04 of the RV-12 airplane plans. So I will leave you with this pcture of the canopy in the open position on the Vans RV-12 airplane.