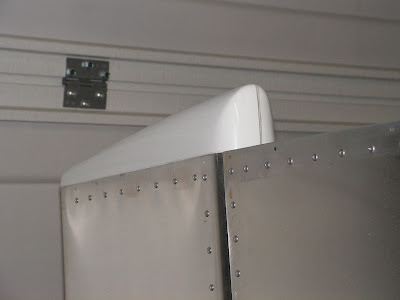
Today starts the attachment of the Empennage Fairings. The RV-12 plans call for the rudder and V-Stab to not be attached but I did the installation with them attached and it worked very well.
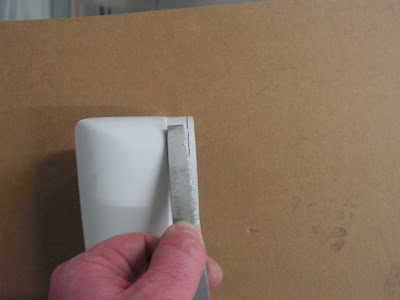
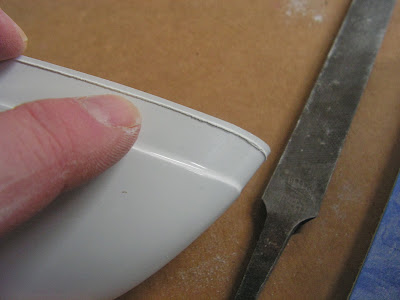
Step 1: Clean up the molded recess in both of the tip fairings. Leaving a nice square shoulder as directed by Van's Aircraft
Step 2: Trim away extra material off the bottom of the Rudder Trim cap.
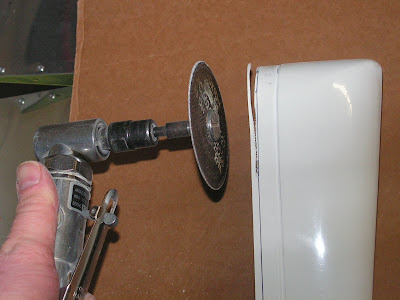
Step 3: Trim away extra material on the V-Stab tip.
Step 4: Trim away the extra material at the rear of the V-Stab tip leaving 1/8" beyond the scribed line.

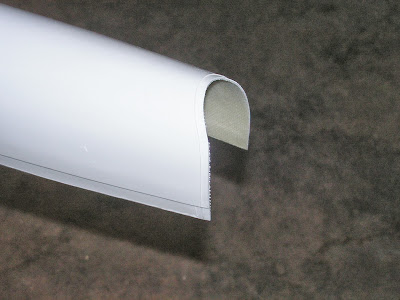
Step 5: Place the Rudder tip on the rudder. The edge of the recessed area of the tip fairing must be flush against the entire top of the rudder skins. Resolve any interference issues. Remove as little material as required to solve the problem.
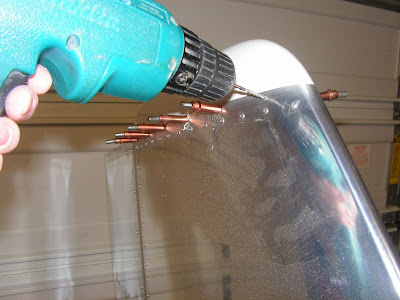
Step 6: Hold and match drill #30 the fairing tip and rudder skins. Cleco each hole after it is drilled. Then remove the tip fairing, deburr and clean.
This completes page 12-02.
Reference: Page 12-03
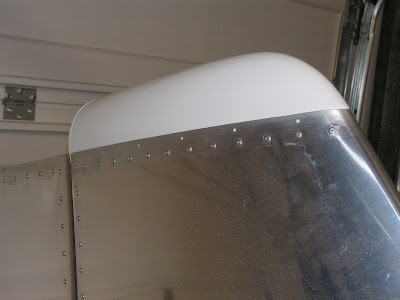
Step 1: Fit the V-Stab fairing ensuring the recessed area seats correctly. Trim as needed.
Step 2: Match drill the V-Stab faring with a 330 drill bit. Cleco each hole as it is drilled.
Step 3: Ensure there is a smooth transition from the side of the fairing to the surface of the skins sand as needed.
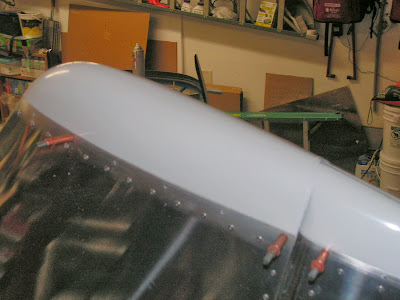
Step 4: Trim the V-Stab fairing as shown on page 12-03 of the RV-12 airplane plans.

Step 5: Attach the rudder if it is not already attached.
Step 6: With both fairings attached mark and trim material from the V-Stab to allow for a 1/8" gap between the fairings with a max gap width of 1/4".
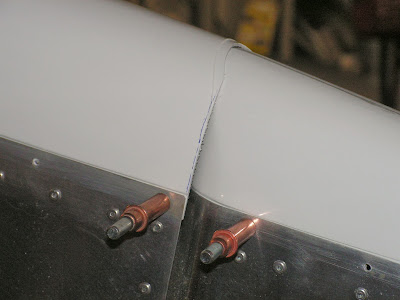
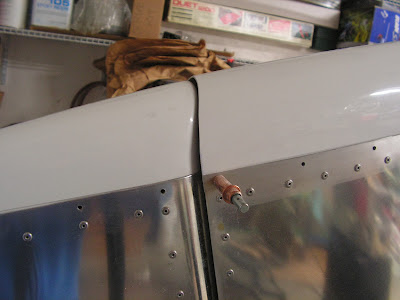
This complets page 12-03 and this entry. Until next time!

