Being snowed in, this seems like a good time to start the fuel tank revisions and updates on the RV-12 airplane.
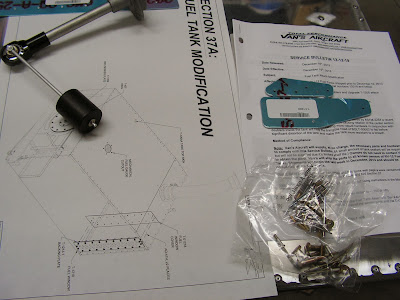
Steps 1 & 2: Get copies of the newest revision of section 37 and the Maintenance Manual. Remove the fuel tank (if installed.)
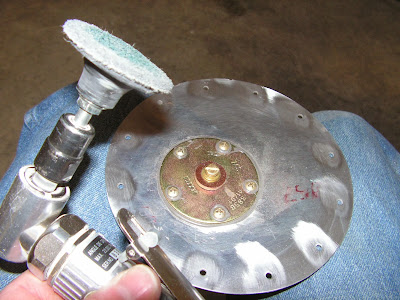
Step 3: Remove the Sender plate. I read that lubricating the plastic putty knife makes it slider easier under the plate and it does help.

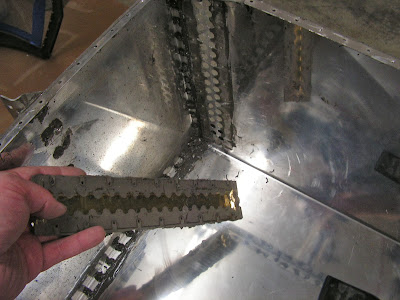
Step 4: Separate the T-01220 doublers.
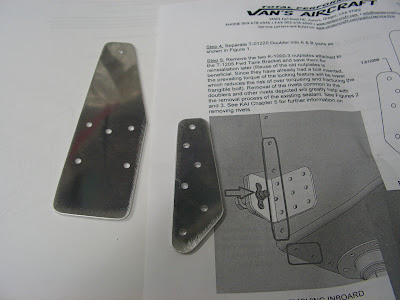
Builder's note: Because I am also removing the fuel sight window and replacing it with the mechanic gauge option I decided to remove the entire top of the fuel tank. It is not required but I am glad I did.
Step 5: Didn't need to remove the two nutplate because of the unlimited access to the inside of the tank with the top removed. I did remove the rivets that are common to the two new doublers.
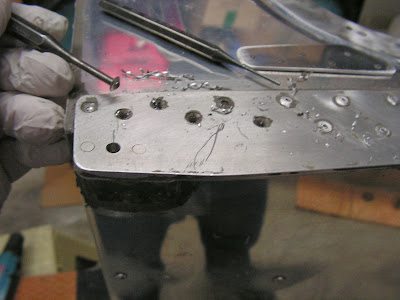
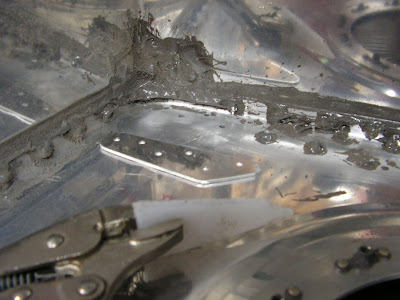
Step 6, 7 & 8: Disconnected the fuel return line form the bottom inside corner of the fuel tank. Used a scrap piece of UMHW plastic to scrap the old sealant from the area the new doublers will fit. Testing fitting the new doublers to ensure they fit properly. Also radiused the edges that fit in the bend radii of the tank bulkhead.
Reference 37A-02
Step 1: Removed the Fuel Window from the tank.
Reference: 37A-03
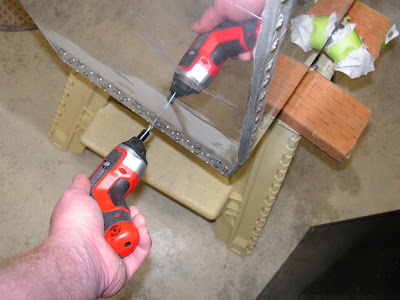
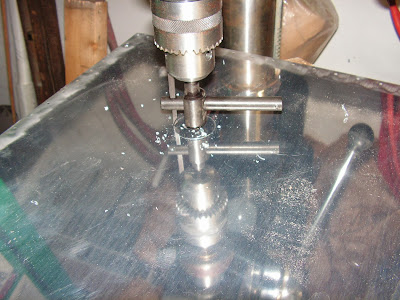
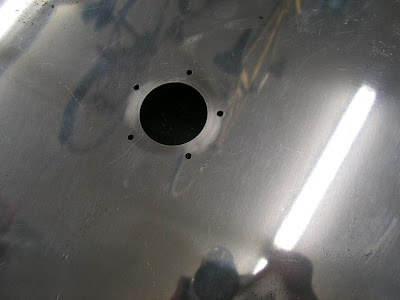
Steps 1 - 3: Using the provided template marked and cut the hole for the optional fuel tank gauge. (First time I have used a flybar cutter in 10 years of owning one.) Also marked and drilled the mounting bolt holes in the top of the fuel tank.
It's been a long day so I'm going to call it. Tomorrow I will continue on the service bulletin for the RV-12 fuel tank.

