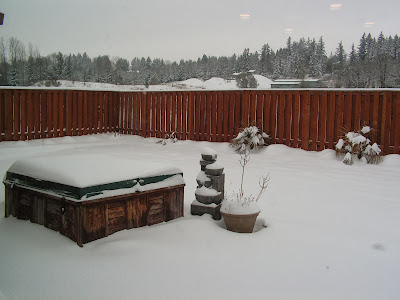
Snowday or airplane workday!!! Today we got hit with the start of the worse snowstorm we have seen in 15 to 20 years. Keep in mind this is nothing like the mid-west but people aren't prepared for this kind of weather in Oregon ( you don't shovel rain)!
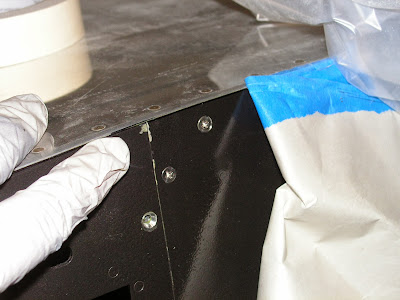
So, I worked on a few miscellaneous projects around the RV-12 airplane project. First was to repair some paint ships on the instrument panel. This required removing some of the aluminum from the edge of the panel and repainting.
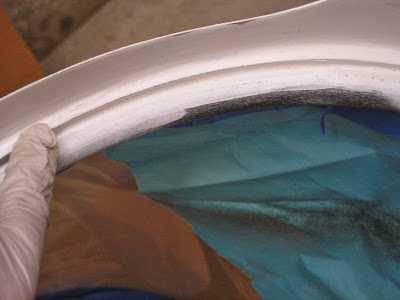
Next was finishing the inside of the front canopy edge. Recall i put a thin layer of epoxy over it to protect it from any solvents in the paints I will spray it with. It was then coated with UV Smoothprime and sanded
Reference: 35-04
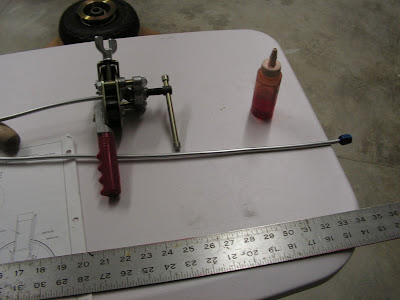
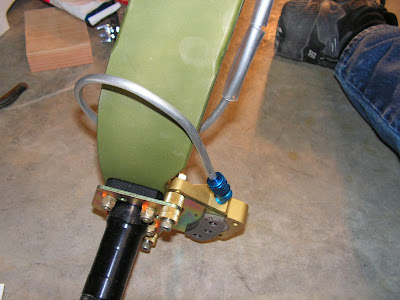
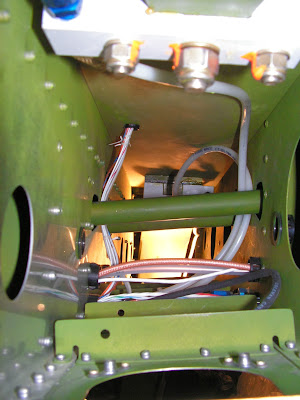
Step 3: Made the brake lines out of 1/4" aluminum tubing supplied by Vans Aircraft. Added fluid nuts and flaired ends as directed.
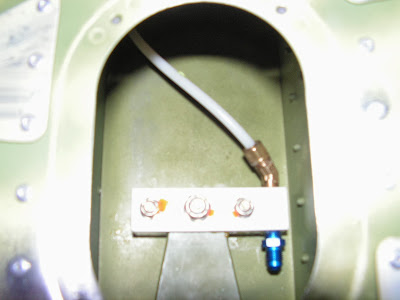
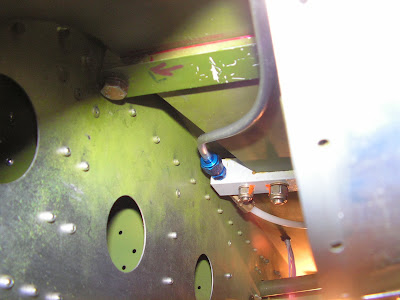
Step 4: Attached the Main (Plastic) Brake lines to the fittings on the Inboard Main Gear Attach Brackets, using pipe thread sealant.
Step 5: Routed the brake lines down the gear legs and attached these to the brake calipers as direct in the RV-12 airplane plans.
Builder's note: Routing the brake lines is usually done after the main wheel are installed , but I couldn't make it out of the driveway and down to the airport to get the needed grease.
This completes page 35-04.
Reference: page 35-05
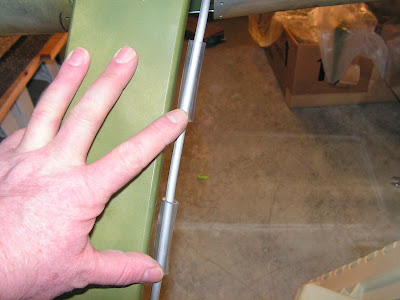
Step 1: Secure the Main Brake Line to the center section of the RV-12 airplane fuselage and each other using wire ties.
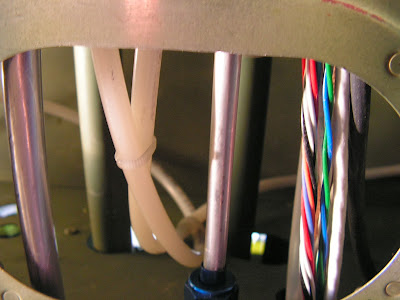
Step 2: Install the provided clear tubing two onto both the leaft and right main brake lines.
Builder's note: These will be secured with wire ties after the gear is painted.
Builder's note: I am holding off on steps 3 & 4 (adding the Cover plates that fit under the landing gear and installing the inspection covers until I fit the main wheel on the R-12 aircraft.
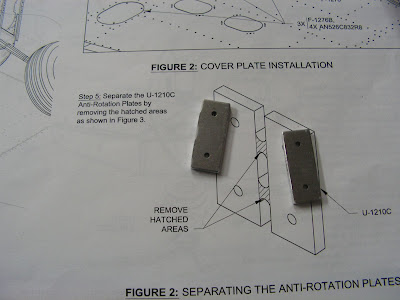
Step 5; Separated the Anti-Rotation Plates for the front wheel fork.
This completes page 35-05 for now.
Reference: page 35-06
Step 1: I'm holding off on installing the nose gear as it will just be in the way for now. Right before installing the Rotax engine on the RV-12 I will install it.
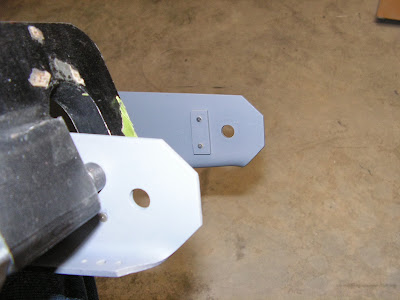
Step 2: Countersunk the four outboard holes on the nose fork that will hold the Anti Rotatiion plates. Riveted the plates in place.
The remaining steps on page 35-06 of the RV-12 airplane plans, deal with the front nose gear and fork. I will complete these later.

