With the zinc chromate dry on the trim parts it's time to start assembly of the trim system for the RV-12 aircraft.
Steps 2 & 4: Rivet the nutplate to the servo tray (this is the older design new kits use molex plug). Also rivet the Doublers on the out side of the tray. NOTE: Direction of rivet head placement as specified by Van's Aircraft.
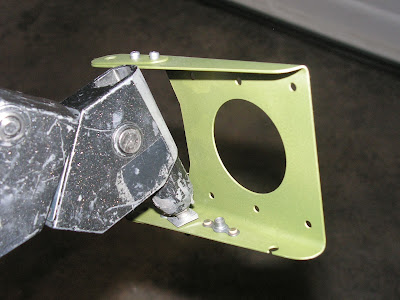
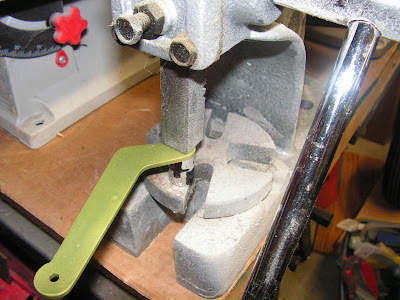
Step 6: Install the srevo on the trim tray.
Builder's note: Don't forget the doublers as I did during the first assembly! Also the RV-12 plans call out AN526-632R8 screws, but these were not supplied with my kit and are not listed on the hardware lists supplied by Van's Aircraft. However, the kit did come with AN526C-632R8 (stainless steel) so I used these instead. If I find this to be an error I will list it later as a Builder's Gotcha.
Step 7: Gives instructions on how to strip and double over the wire before installing the spade connectors.
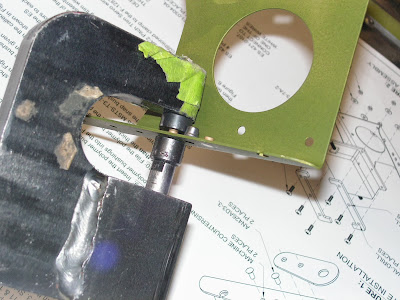
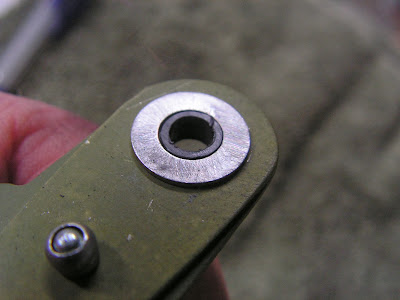
Step 8: Deburred the servo link F-1287C (per RV-12 plans only deburr one side only of the bushing hole) and the Servo Tray previously.
Step 9: Insert the bushings into the link and servo tray.
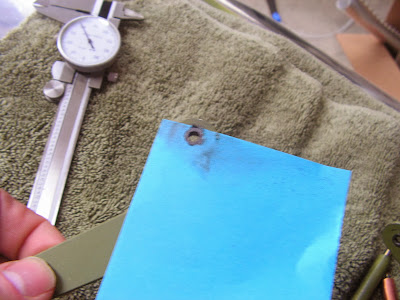
Step 10: Filed the bushings to the dimensions given in this step by Van's Aircraft.
Builder's note: I used a thin washer as a file guide to keep the bushings square to almost the final thickness and then used thin aluminum sheet as a guide to finish these.
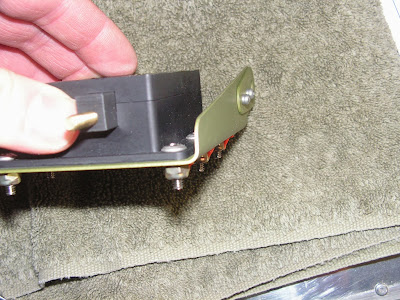
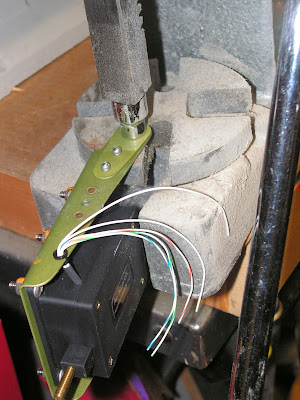
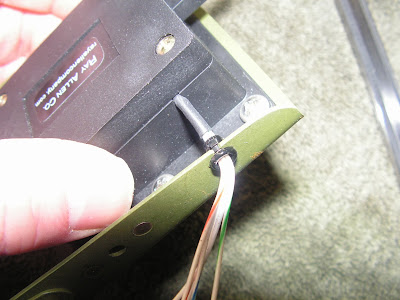
Step 11: Inserted the wire bushing and the servo wired into the tray.
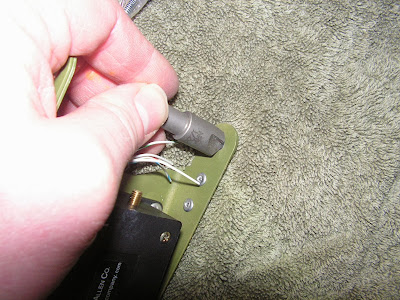
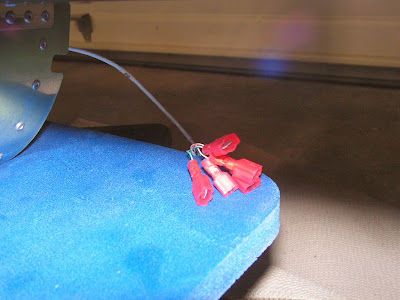
Step 12: Installed one male terminal on one of the white wires coming out of the servo and female connectors to the remaining 6 wires.
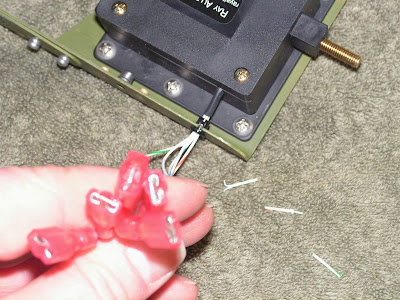
Step 13: Crimped one female connector on one fo the white wires comming out of the tailcone trim wires and male connectors on the remaining 6 wires comming from the RV-12 tailcone.
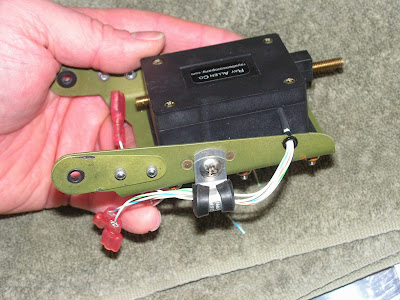
Step 14: Inserted the servo wire leads through the cushion clamp and installed it temporarily.
This completes page 11-06 an this log entry. Please note many of the pictures above show no servo doublers installed on the servo, this is wrong and has been corrected later in my build!

