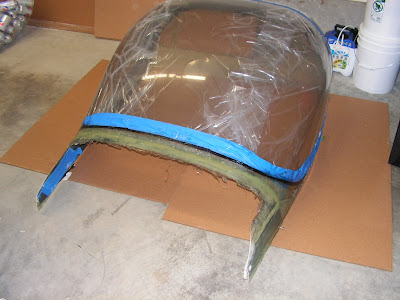
The canopy fiberglass layup is complete on the RV-12 airplane kit. Because I didn't remove the gas struts earlier, so today's work is going to be more of a challenge.
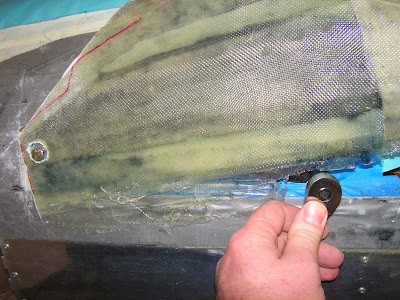
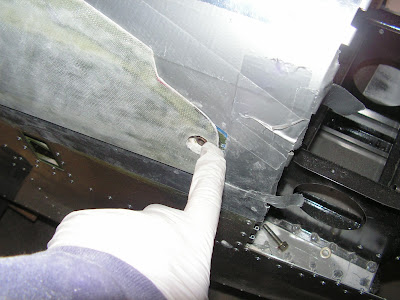
Step 1: Cut out around the canopy pivot bolt.
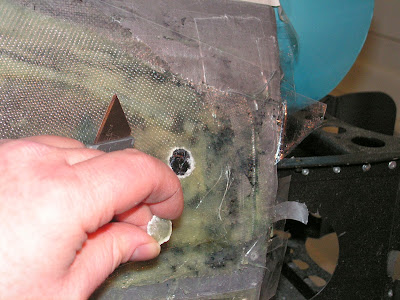
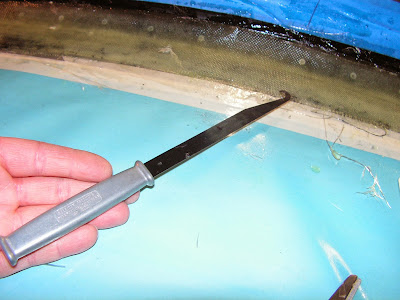
Builder's note: Because the gas struts are installed I just can't remove the bolt and pop off the canopy. So first I loosen the lay up from the RV-12 fuselage using a chip chaser.
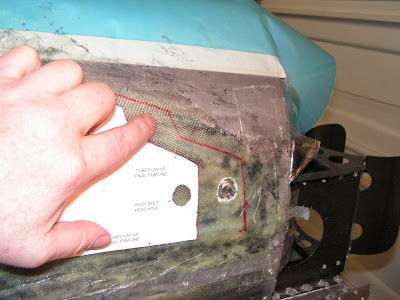
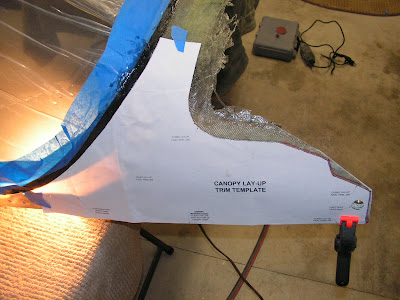
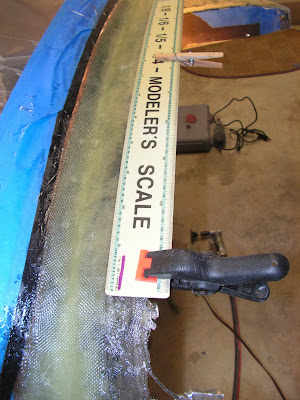
Step 3: Next I taped the canopy Trim template to the sides and carefully cut the fiberglass with a razor saw while protecting the underlaying structure with a thin piece of spring steel.
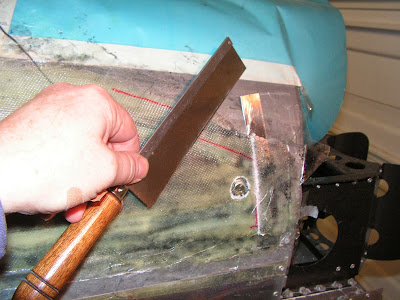
This gave me enough clearance to partial raise the canopy and remove the gas struts while compressing them. And remove the canopy.
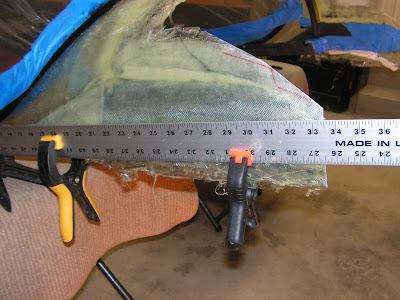
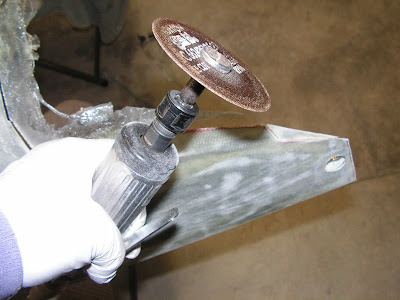
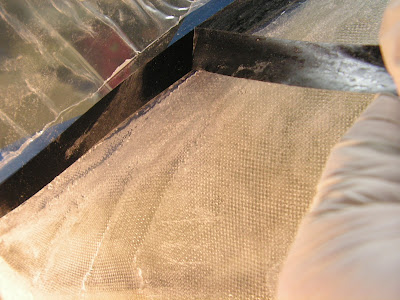
With the canopy remove I finished trimming the fiberglass.
Step 2: Went back and redrilled the three holes on each side.
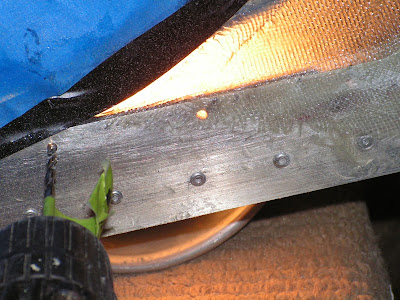
Step 4: Placed the canopy back on the RV-12 airframe and took care of any places it was hitting the fuselage as it rotated up.
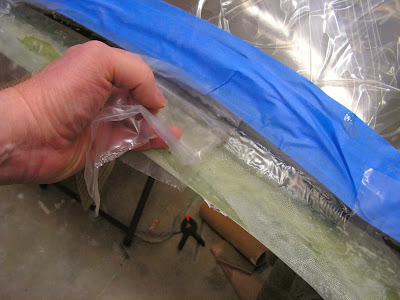
Step 5, page 34-15: Sanding and filling of the fairing. The idea is to have a smooth transition into the bubble canopy. I like to put poly bag material over the epoxy to allow me to smooth out the area before it sets up and reduces sanding. It peels right off after it has cures.
After a lot of careful sanding the first layer of electrical tape is removed.
That's it for this entry I still have a lot of work to get the canopy fairing done on the RV-12. Not difficult just time consuming.

