This entry continues the construction of the RV12 airplane canopy. With most of the plexiglass work behind me and the fiberglass work a few days out I'm just working through the needed projects to complete the job.
Step 1: Make the two Canopy Guide blocks.
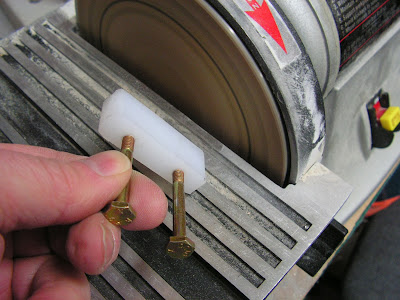
Step 2: Radius the edges. I used a bench belt sander to radius the edges. Builder's note: They are hard to hang onto during sanding so I used two AN3 bolt partially thread in as handles.
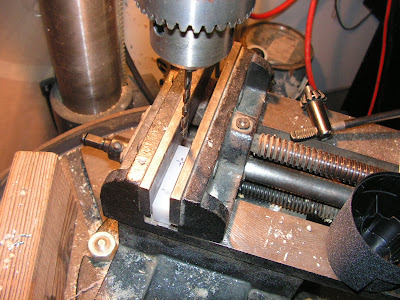
Step 3: Machine countersinking the bolt holes in the Guide blocks. In the RV12 instructions Van's Aircraft says it is OK is they ore 0.015 inches too deep.

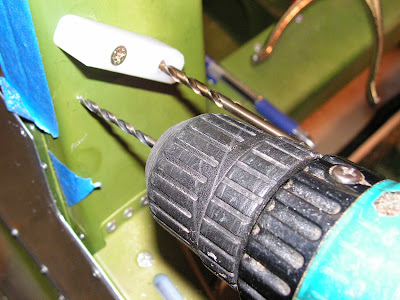
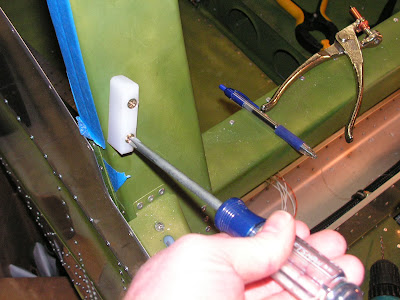
Step 4: Measure mark and drill (#30) the top hole fo the guide block into the roll bar per the RV-12 plans. The guide is used as a guide while tapping the hole into the roll bar.
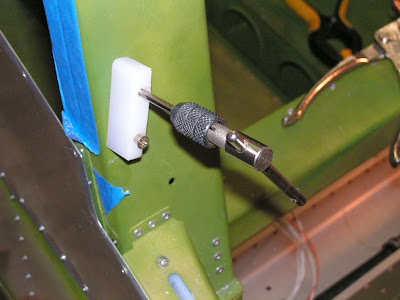
Step 5: With the Guide block in its finish position. Run a #19 drill through the lower hole and just touch the roll bar with its tip. Move the block out of the way and finish drill with a #30 drill bit.
Tap the lower hole using the block as a guide. Clean the chips metal chips out and reinstall.
Step 6: Check the clearance between the Guide Blocks and the back set of screws on the canopy.
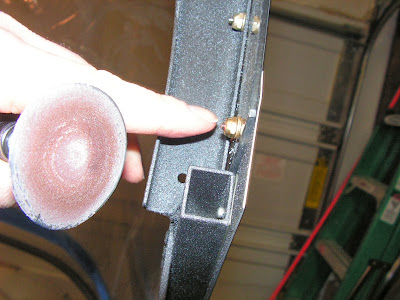

Builder's note: I'm still having some challenge with the canopy screws hanging up on the guide blocks when I lift the canopy from just one side. I did check both of Van's Aircrafts factory plane and one of the new RV-12 S-LSA planes to see if my blocks were installed wrong but they are fine. So I am slowly chamfering more and more of the outer bottom corner.
This completes page 34-12 of the RV-12 airplane plans.

