Fiberglass and epoxy work is just around the corner on the RV-12 airplane canopy! It's not bad stuff to work with just different from aluminum.
Step 1: Mask the instrument panel and the forward arm nests. Build'er Gothcha: Remove the gas struts if they are still installed! I didn't and while it is possible to remove the canopy after the fiberglass work is done, it adds more work and stress to the job!
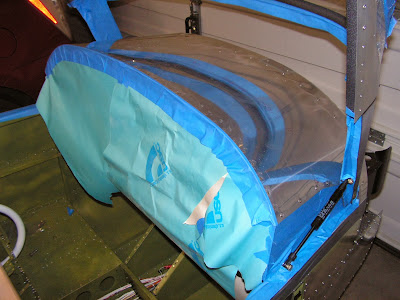
Builder's note: I also ran tape on the inside of the canopy to fill the gap between the canopy bubble and the instrument panel and the gaps between the canopy and canopy frame.
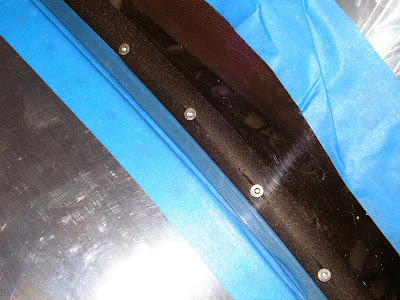
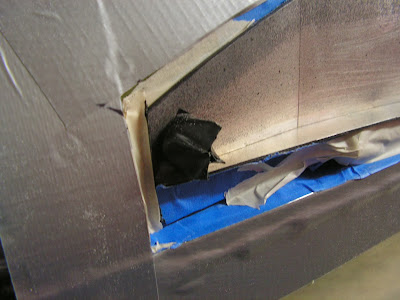
Step 2: Put one thickness of duct tape on the edges of the Upper Forwrad fuselage and the upper forward fuselage skin.
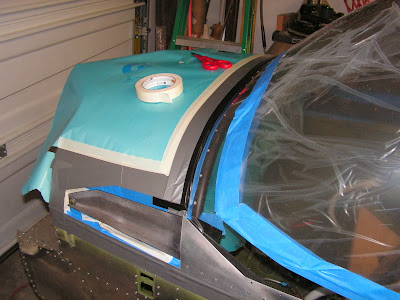
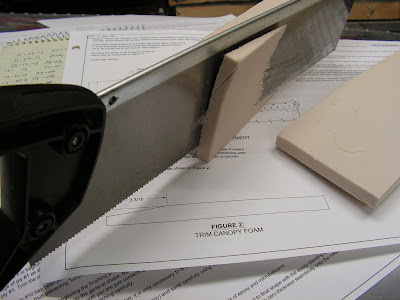
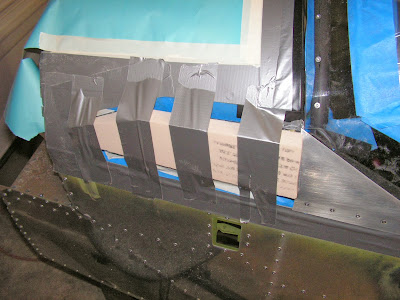
Step 3: Trim the Canopy foam blocks.
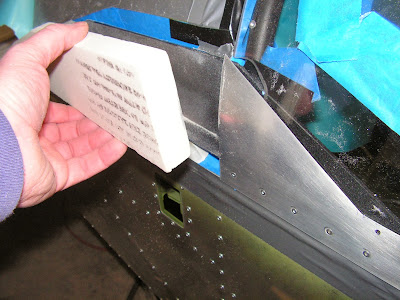
Step 4: Position the foam blocks and mark and cut the 7/8" hole for the canopy bolt.
Builder's note: I covered the canopy bolt and washer with a thin layer of electrical tap.
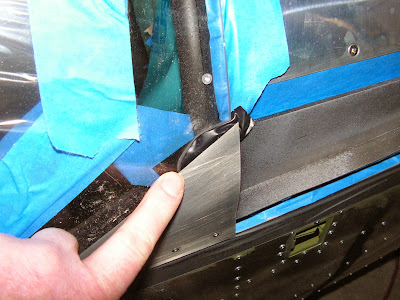
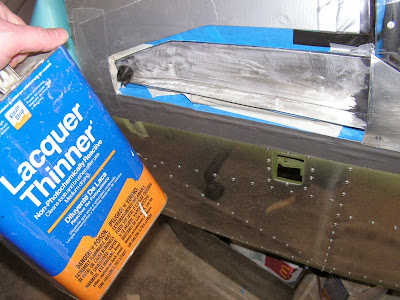
Cleaned the arm with Lacquer Thinner. DON'T get this near the bubble canopy!
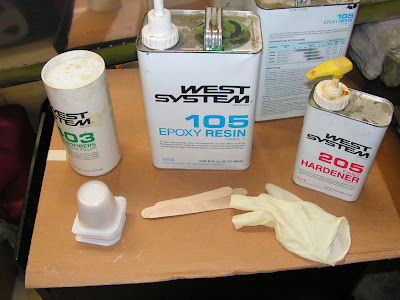
Here is the epoxy I used to glue the foam blocks on. It can be thickened with Flox. If this is your first time working with epoxy, talk to one of the composite airplane builders in your EAA chapter for pointers and possible some quick lessons. Before starting the fiberglass on the RV-10 kit, we have a workshop at our EAA chapter and it was well worth the time spent!
This completes page 34-13. Now it is time to let the RV-12 canopy set and cure.

