With my new pneumatic rivet puller in hand I am ready to finish riveting the tailcone on the RV-12 aircraft.
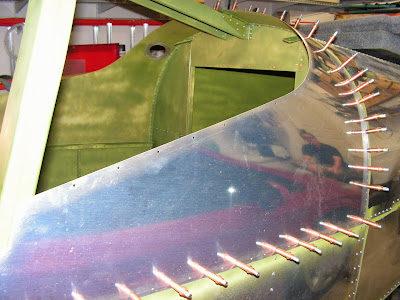
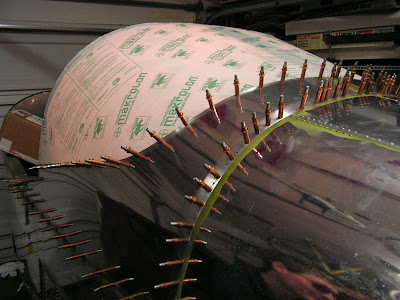
Step 1: Cleco the Fwd Turtle Deck Skins to the Fuselage and Tailcone Assembly.
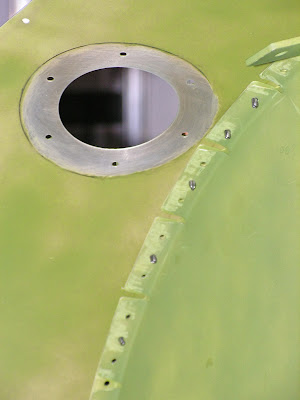
Builder's note: I cleaned the primer off of the skin where the fuel tank filler neck will go as this will need to be sealed with fuel tank sealant.
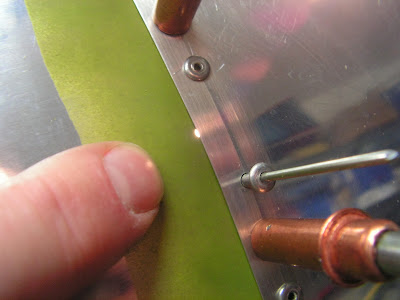
Builder's note: I had some unwanted puckering of the tailcone skins that I am pointing at in the picture above (but you can't really see them." To fix this I pulled the turtle skins back and repent the tabs to remove them.
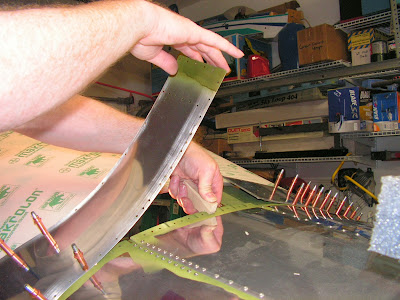
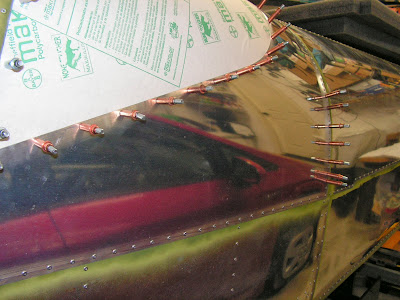
Step 2: Cleco the Aft Window underneath of the FWD Turtle Deck Skins.
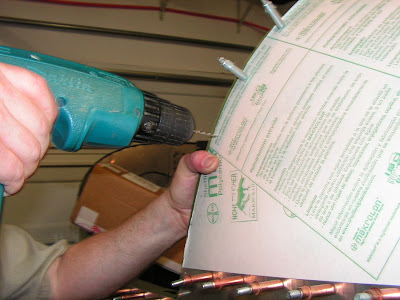
Step 3: Match-Drill #40, beginning at either top inboard holes, the 3/32" holes from the Aft Window into the Roll Bar Frames. Cleco each hole before drilling the next.
Step 4: Rivet the Fwd Turtle Deck Skins to the Fuselage and Tailcone. Remove the Aft Window. Open all holes in the aft window using a #27 plexi drill bit.
Builder's note: When working with plexi I like to have the room temperature above 70 degree F. At this temperature the plastic is more flexible. Here is a good video on drilling plexi by the EAA and John Monnett:
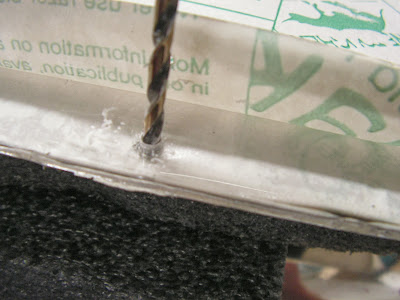
I also drilled the aluminum skins to #27 at this time as well. Also it didn't mention it in the plans but smoothing the edges of the window is very inportant
NOTE: Optionally, now is a good time to paint the interior.
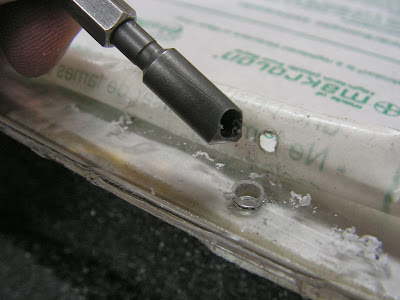
Builder's Note: I noticed a number of "holes" at the end of the tab slots that were not covered by the Turtle Deck Skins. I plan to seal these maybe with fuel tank sealant since it is paintable.