Well the fuselage of the RV-12 airplane is about to get much longer!
CAUTION: To avoid water penetration, upper skins need to overlap outboard of lower skins and forward skins need to overlap outboard of aft skins.
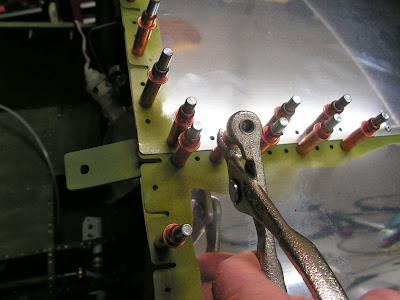
Step 1: Support the Fuselage and Tailcome Assemblies on saw horses. Bring the Tailcone Assembly to the aft of the Fuselage Assembly. Place the forward edge of the F-1282-L & -R Bottom Skins on the aft edge of the F-1276 Bottom Skin as shown in Figure 1 on page 25-02. Insert the forward edge of the tailcone bottom skins between the F-1207B Baggage Bulkhead and the fuse bottom skin as shown in Figure 4. Cleco the tailcone bottom skins to the fuse bottom skins. Lift the aft end of the tailcone and guide the tailcone skins outboard of the F-1255-L & -R Longerons and inboard of the F-1270-L & -R Fuselage Side Skins. The F-1279-L & -R Upper Skins are outboard of the fuselage side skins, see Page 25-04, Figure 2. Cleco the lower half of the Tailcone Assembly to the Fuselage Assembly in about ten places. Shake the aft end of the Tailcone Assembly up, down, left and right to ensure that the clecoes are set completely.

Step 2: Cleco the F-1207E-L & -R Shoulder Strap Lugs to the inboard surface of the Tailcone Assembly skins as shown in Figure 2.
Step 3: Rivet the F-1207E-L & -R Shoulder Strap Lugs to the Tailcone Assembly skins using rivets called out in Figure 2. Capture the upper flange of the F-1207D-L & -R Baggage Bulkhead Channels when riveting the two forward holes of the shoulder strap lugs.

Step 4: Place masking tape over all of the forward holes in the upper tailcone skins as called out in Figure 3. Taped holes will be riveted later in this section.

That's all the time I had today. Until tomorrow.

