So today will finish the Flaperon torque tube install of the RV-12 aircraft.
Step 5: Remove the wings, then remove the Flaperon Torque Arms and Flaperon torque tubes from the fuselage.
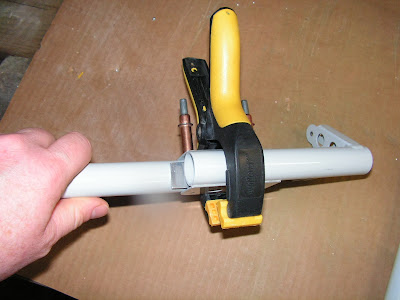
Step 6: On a workbench and with the 0.063 spacers in place, cleco together the Flaperon Torque Tubes and Flaperon Torque Arms using the previously match-drilled holes. Reapply the clamps.
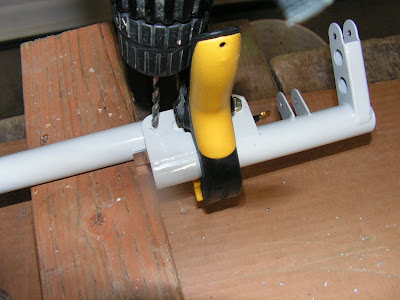
Step 7: Match-drill #30 the holes in the other side of the Flaperon Torque Amrs into the Flaperon Torque Tubes.
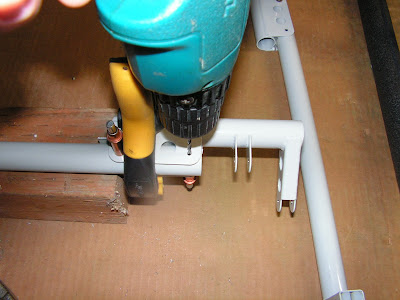
Step 8: Final-Drill #12 all the way through both sets of holes (insert a bolt after final-drilling the first set) in the Flaperon Torque Arms and Flaperon Torque Tubes.
Step 9: Reinstall the Flaperon Torque Arms, the attach the Flapron Torque Tubes using the hardware called out in the plans.
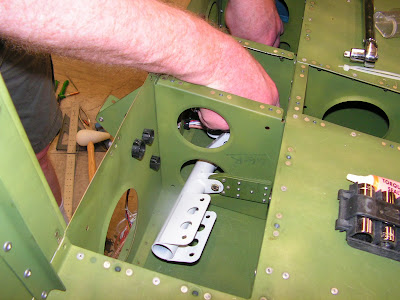
Builder's note: I held off on installing the Torque tubes until after the tailcone is fitted and maybe even after final painting. That completes this entry. In the future I will finish this section. But there are lots of project to do before then!

