I'm finding at this point in the RV-12 airplane construction, I'm jumping between many sections of the plans during one work session to finish things up. So from this point forward most entries will just be entitled "Final Assembly" rather than try to list all the sections worked on in the title. That being said I will still list the RV12 plan references at the top of each entry.
So for this entry I will be installing the registration number on the fuselage, fixing a brake leak and installing the fuel tank.
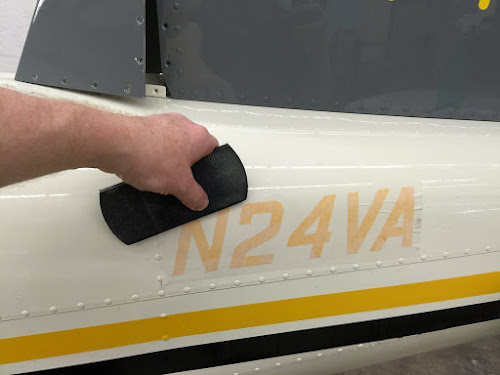
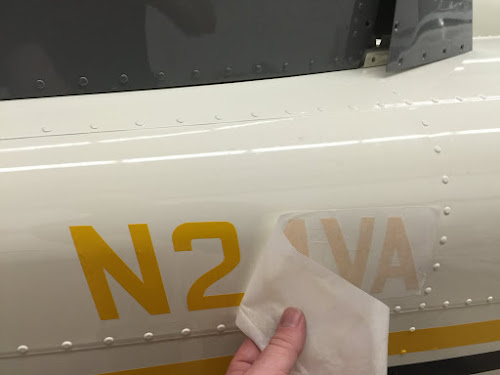
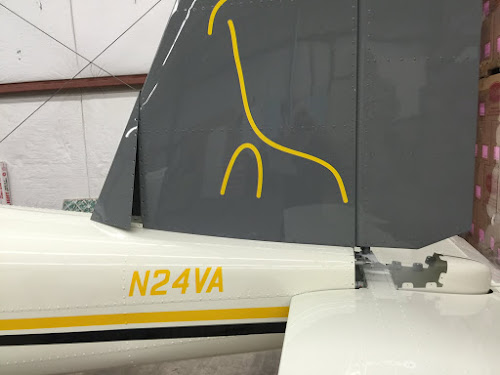
First came the registration number installation. I used vinyl ones that matched my stripping. These came from Aerographics in Loveland Colorado. Clicking on their name will send you to their website. They can also do custom graphic from your artwork such as the giraffe on the RV-12s tail. I am happy with the quality of their product and should get 8 to 12 years of life before they will need to be removed and replaced.

Reference: Section 37-09
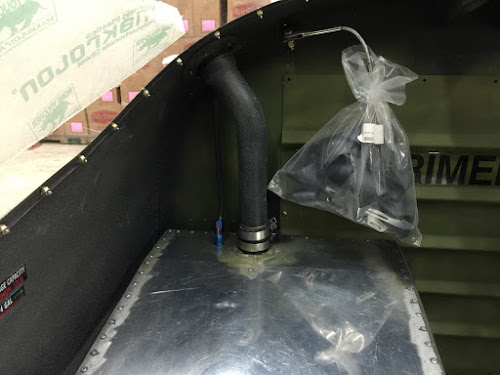
Next came the installation of the fuel tank, vent and fuel filling neck. During the installation I did install the fragmenting bolts on the forward tank mounts. This completes the installation of Section 37 except the installation of the inspection covers on the bottom of the airplane.
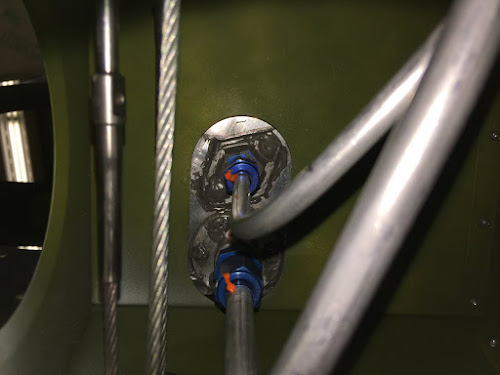
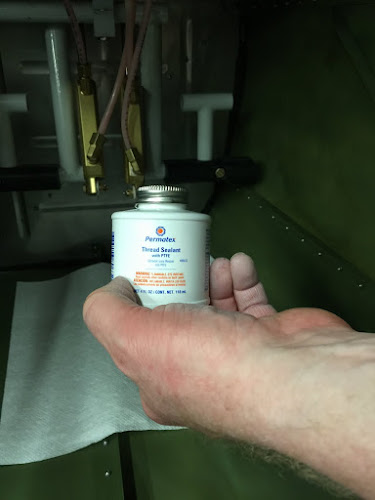
Next came fixing a brake fitting leak. Originally I used Ez-turn on these and vacuum tested them. But some of these have started leaking. So it was suggest to me by a tech counselor to remove the leaking fittings, clean them and use Teflon pipe sealant paste. Leaving the first few threads at the end of the fitting clear of sealant so no sealant is introduces to the brake system. (NOTE: DO NOT USE TEFLON PIPE TAPE!!!) After a month this appears to be working. At the same time I also replaced some of the leaking brass elbows.
That is all for this entry.

