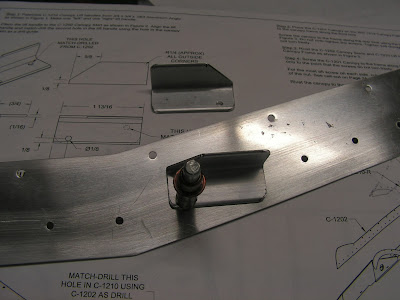
Step 1: page 34-08 Countersink the two #8 flush screw holes in the C-1207 guide blocks and then tap them for a 8-32 screw.

Step 2: Next they were installed.
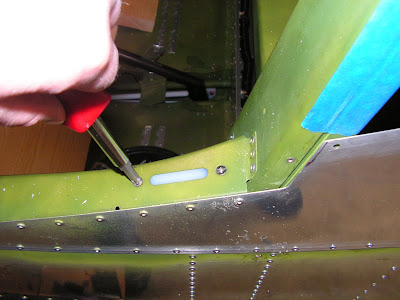
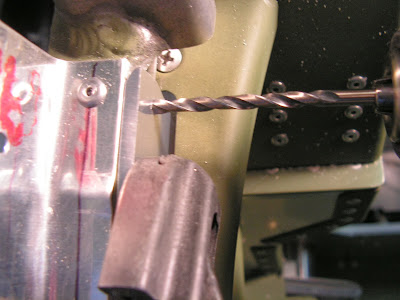
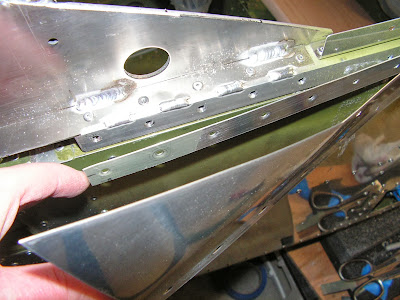
Step 3: Inserted the Guide Plates into the Guide blocks and after positioning them, these were match-drilled to the canopy frame using a #30 drill bit. After priming these are then riveted to the RV-12 canopy frame.

Vans Aircraft RV-12 plans say now is a good time to paint the frame.
This completes page 34-08.
Step 1 page 34-09: Fabricated the canopy lift handles as called out in the RV-12 airplane plans.
Builder's note: Because I was not happy with the lack of overhang clearance of the canopy skirts and the fuselage sides I made .032 aluminum spacers to make up the difference.
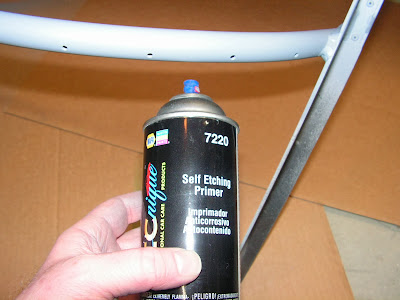
Before continuing I painted the canopy frame using the same paints and technique used on the cabin with the excepting of using NAPA 7220 self-etching primer in place of alodine and zinc chromate on the frame. (Used this same method on some of the RV-10s interior with good results.) Left the outside on the front canopy "arms" bare for bonding epoxy to. In hindsight I might as well have left the inside of these arms bare as well as they are going to need repainting, but more on that later.
This completes todays work on the RV-12 airplane kit by Van's Aircraft.

