Today work on the RV-12 airplane deals with attaching and drilling the canopy. Again work the canopy to ~70 to 80 degrees F before starting the work. At this temperature the plastic is more flexible. Here is an EAA video by John Monnett video drilling plexiglass and how to prepare drills bit for it. I have posted it before but its worth posting again.
Step 1: After removing the canopy mark the front bow where the canopy touches the bow as outlined by Van's Aircraft. Note the slightly darker area where the tape is pressed against the bow by the canopy bubble. Pre-drill the bow #40 holes in the center of the tube perpendicular to where the canopy bubble would contact it.

Step 2: Put the canopy back on the frame, align and secure it to the RV-12 airframe.
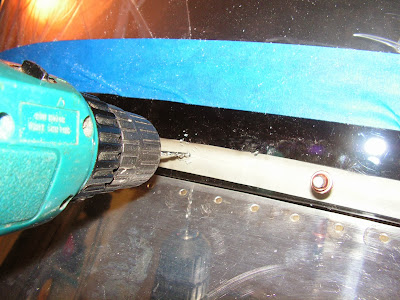
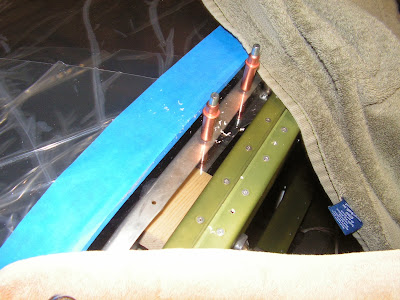
Step 3: Drill both the canopy and front bow using a #30 plexi bit (see the video above on instructions of how to make one). Start at the center of the bow and work outwards cleco as you go. I alternated between the front and rear canopy bows as directed in the RV-12 kit plans. Builder's note: At this point I had two heaters in the cabin area keeping everything warm with towels over the back window area to keep the heat in.
With the holes all drilled it's time to take a break from working on the RV-12 light sport airplane.

