This entry starts the forward upper fuselage on the RV-12 aircraft. During the construction I am updating to the new Skyview EFIS system so there are a number of changes between the original section 29 and this new section 29A. Also there is a service bulletin regarding the oil reservoir tank mount, but more on that later. I also ran into a GOTCHA on the plans and called Van's Aircraft about it. It deals with the upper cowl hinges the plans tell you to mount them a certain wal but this is not possible. There are pictures and more notes listed below.
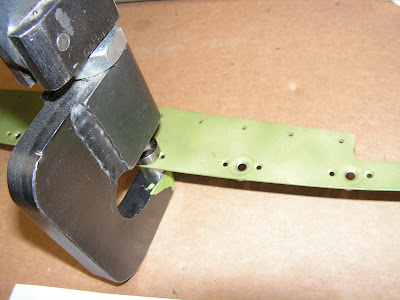
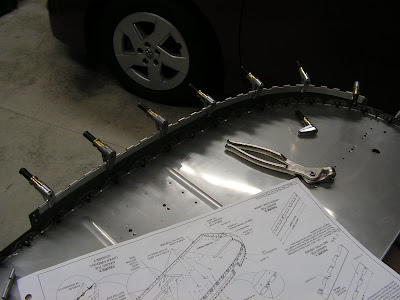
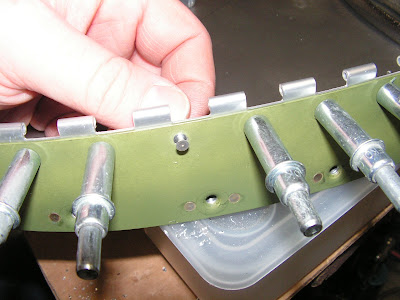
Step 1: Mark two lengths of AN257-P3 piano hinge to make the Mid Cowl Hinges per the dimensions in Figure 1 on page 29A-02 of the RV12 plans. Remove the hinge pin then cut the hinge to length. Set aside the hinge pin and unused halves of the piano hinge for the cowl installation.

Step 2: Make the Upper Cowl Hinges from AN257-P3 piano hinge per the dimensions in Figure 2. Remove the hinge pin before cutting the parts to length. Set aside the hinge pin and unused halves of the piano hinge for cowl instillation.
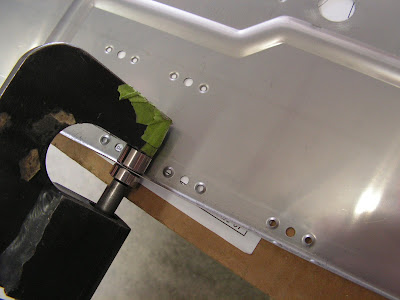
Step 3: Dimple the Firewall Spacers and corresponding screw and rivet holes in the Firewall Upper. Dimple the rivet holes locations in the corresponding nutplates. Cleco the firewall spacers and nutplates to the lower flange of the firewall upper. Rivet the top rivet only as shown in figure 3 on page 29A-02.

Step 4: Machine countersink the nutplate rivet holes in the Upper Fwd Fuse Doubler. Dimple the screw holes in the upper fwd fuse doubler and Firewall Upper for the #8 screws. Cleco then rivet the upper fwd fuse doubler and nutplates to the firewall upper.
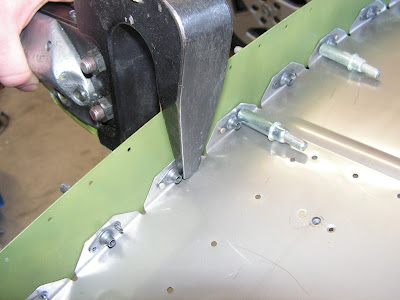
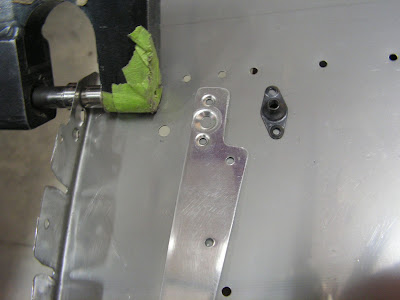
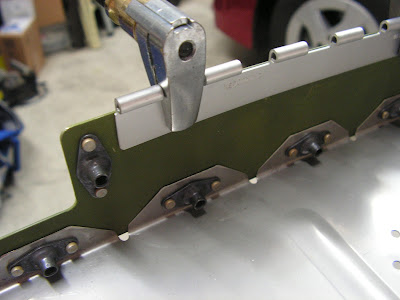
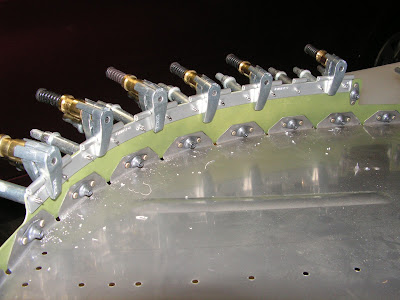
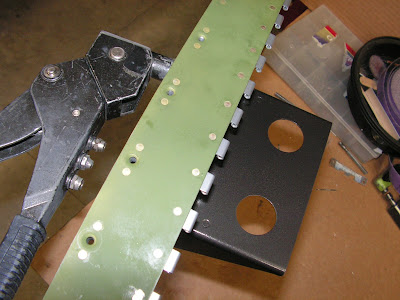
Step 5: Clamp the Upper Cowl Hinges to the Upper Fwd Fuse Doubler. Align the lower edge of the upper cowl hinge per the call out. Match-Drill #40 and cleco all the corresponding holes between the upper fwd fuse doubler and the upper cowl hinges. Remove and deburr the parts. Machine countersink the rivet holes in the upper fwd fuse doubler. Cleco then rivet the parts together as shown in Figure 3.
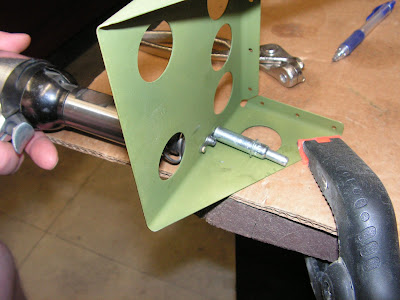
GOTCHA: Here's the deal. If the hinge material for the upper left side is aligned as instructed, one of the end holes is missed (see pictures below.)


Called Van's Aircraft and they said to split the difference so both of the end holes have proper edge clearance. Not a serious problem as long as you catch it before the holes are drilled! See their suggestion pictured below.


Step 6: Dimple then rivet nutplates to the forward and aft sides of the Firewall Upper per the call outs given in figure 3 on page 29A-02.

Step 7: Dimple then rivet nutplates to the Antenna Shelf per the call outs.
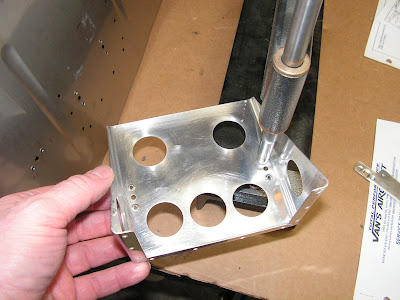
Step 8: Rivet the Antenna Shelf to the Firewall Upper.
Step 9: Dimple the rivet holes in the bottom flange of the Firewall Upper per the call outs given on page 29A-02.
This completes page 29A-02 for the RV12 aircraft kitted by Van's Aircraft. Stay tuned in for there is more fun to follow!

