This entry covers the installation of the Canopy Seal Kit, and the oil door hardware.
Reference: Section 34: Canopy Seal Kit Instructions
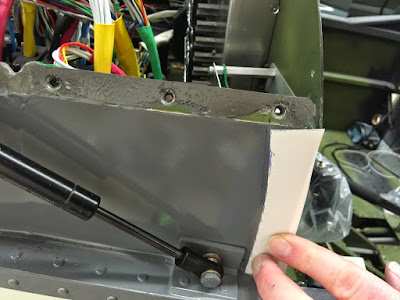
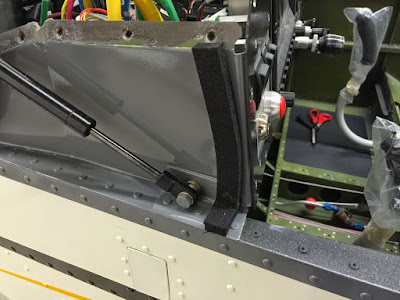
Builder's note: I have the older style canopy so it required the frame extensions a pictured below. Other than that its all pretty straight forward..
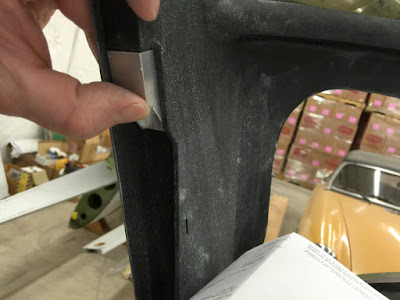

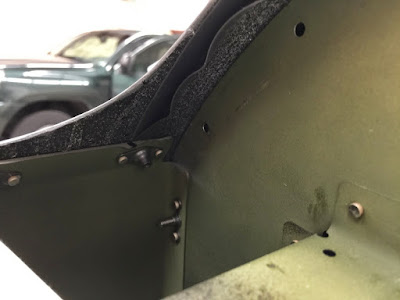
The picture above shows the front canopy seal with the forward fuselage skin removed.
Builder's note: At this point wait 48 hours for the seals to set before trimming or shutting the canopy.
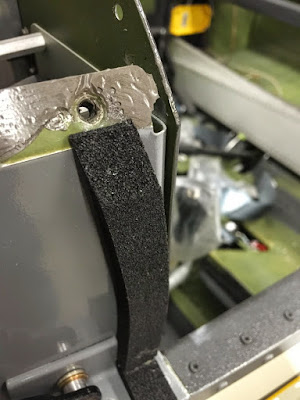
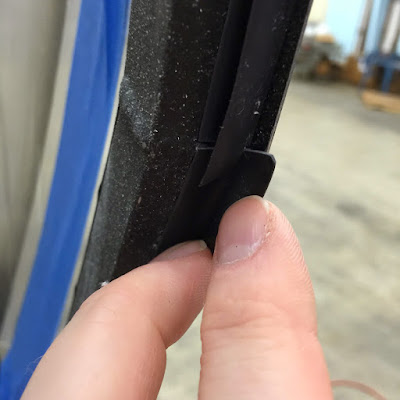
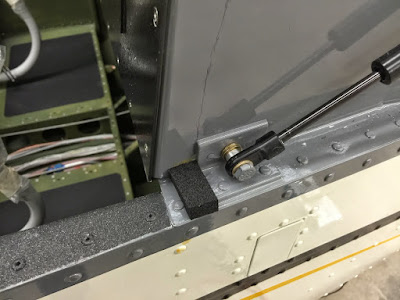
Builder's note: The picture above shows the seal being cut to the dept of 1/8 of an inch.
Reference: Page 38-09:
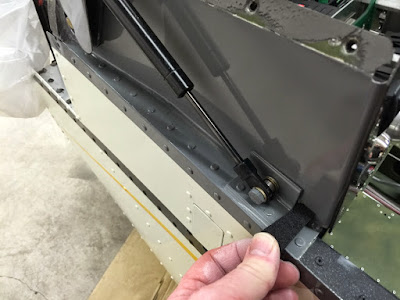
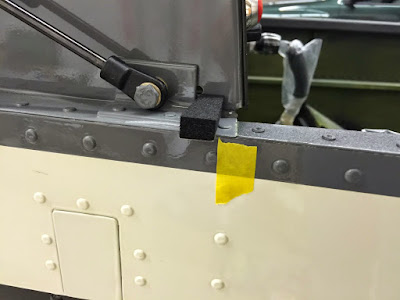
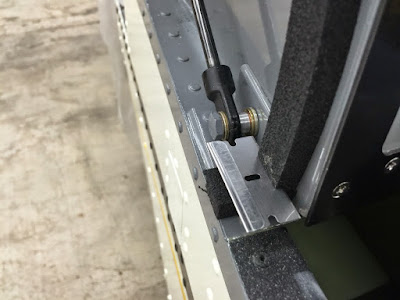
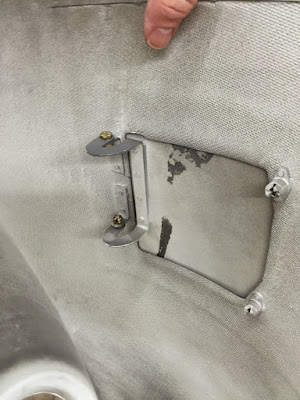
Next came the final install of the oil door hardware and cam locks. Which is very very straight forward at this point.
Another entry bites the dust. I'm going to schedule my next EAA technical inspection soon for the RV-12 airplane.

