Today has a lot of activity in different areas. Including the installation of the Stabilator trim tabs, servo, flaperon torque tubes and fresh air vents.
Reference: Page 32-10.
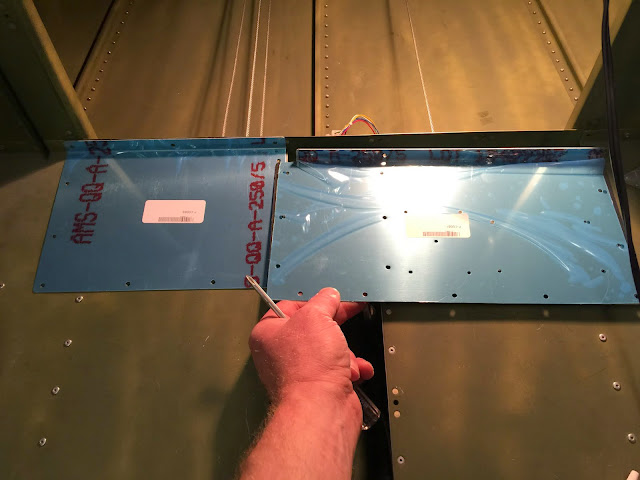
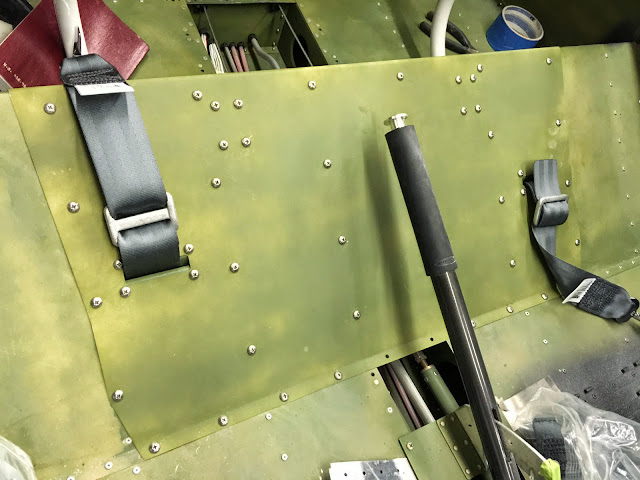
First came the installation the flaperon torque tubes.
Builder's note: Van's has split the baggage floor cover so these can be inspected with out removing the fuel tank!!! The part number are F-00081 and F-00083.
Reference: Pages 11-04, 11-07, 11-08
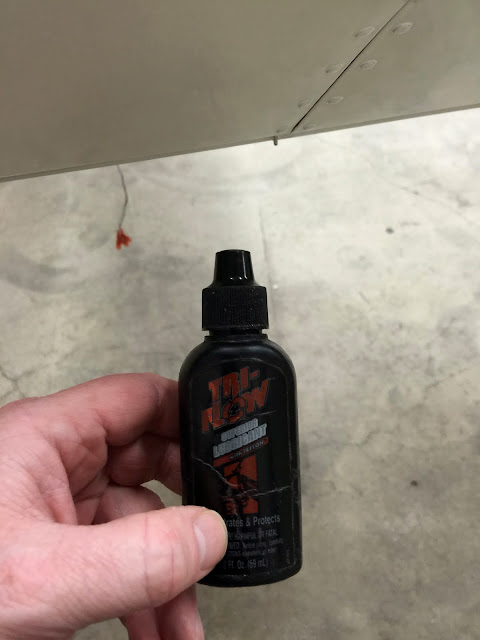
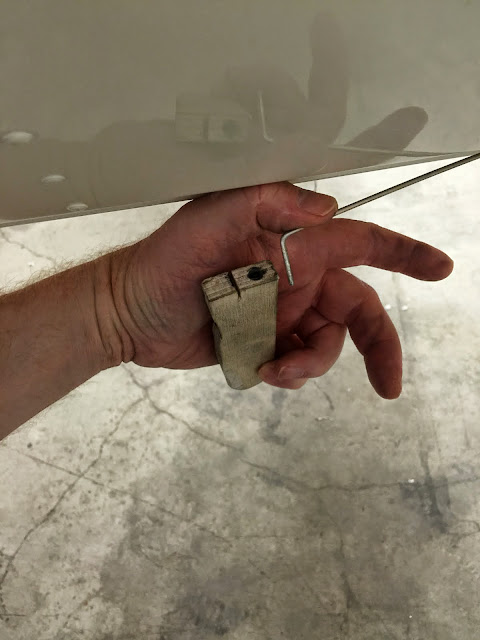
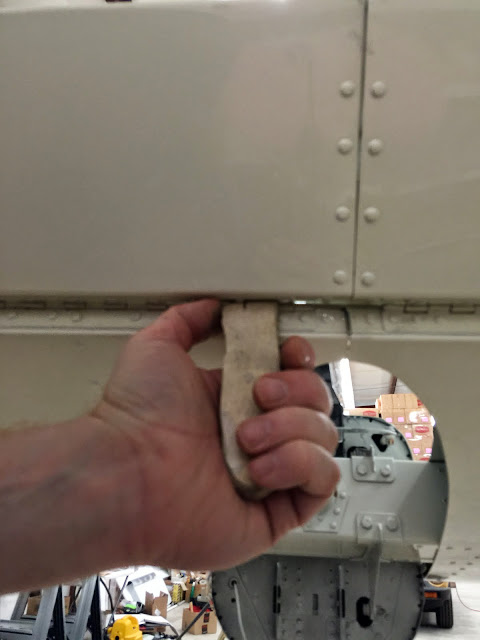
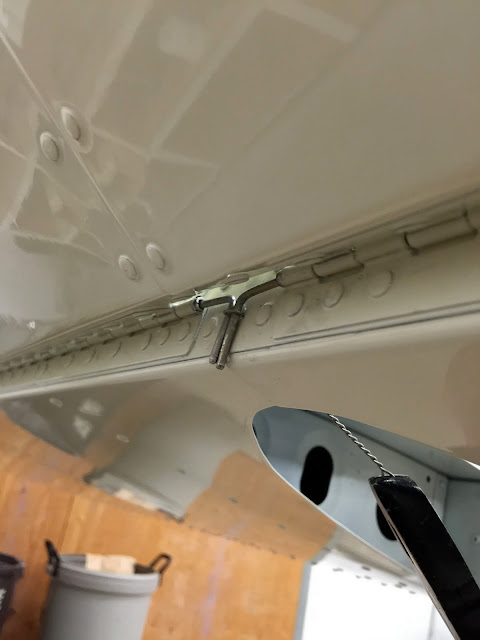
Installed the AST tabs onto the Stabilator. I did find lubricating the hinge pins first made installation easier. Also I used a small block of wood to help push them into place. Then these were safety wired to the Stabilator as called out by Van's Aircraft.
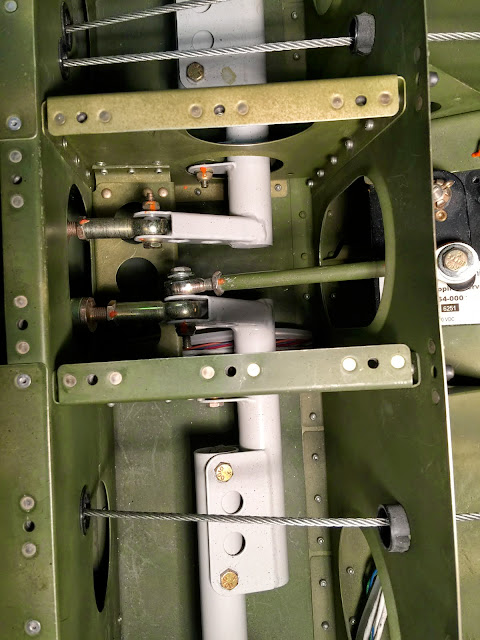
Next came installing the trim tab servo and wiring per the instructions. As noted in the pictures my RV uses the older style electrical connectors verse the newer molex connector.
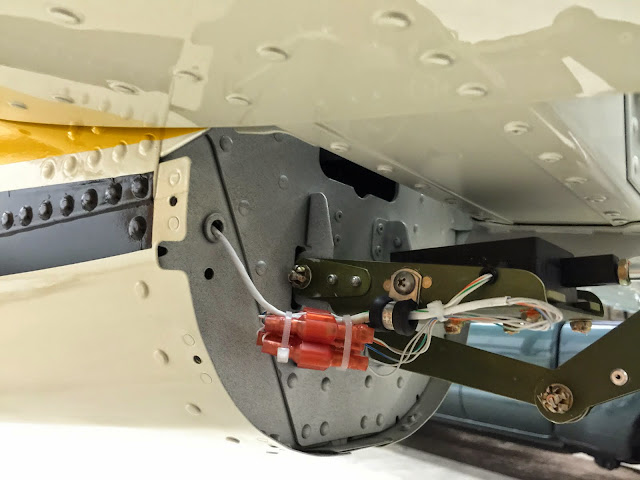
Reference: Page 32-13
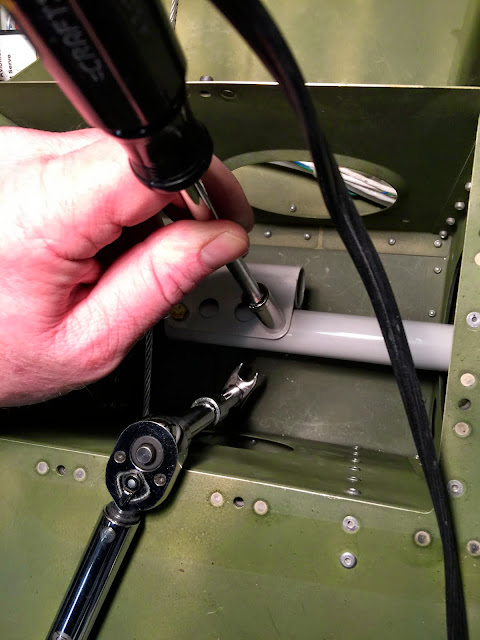
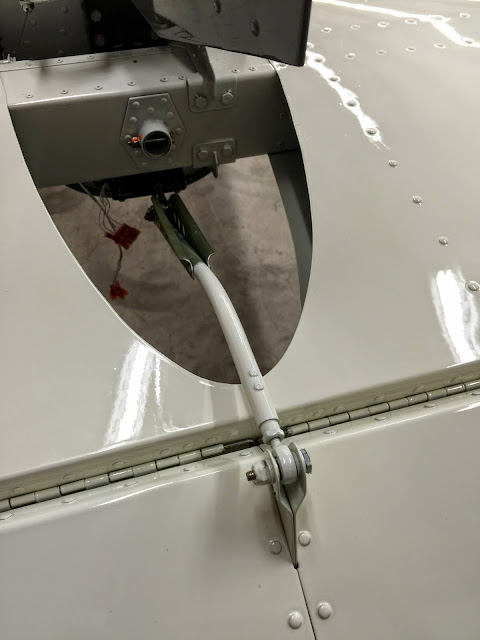
In preparation for the adjustment of the Stabilator cable tension, the cables were attached to the stabilator horns and cotter pinned. Also I installed the seat floor as this must be in place to get a good tension reading.
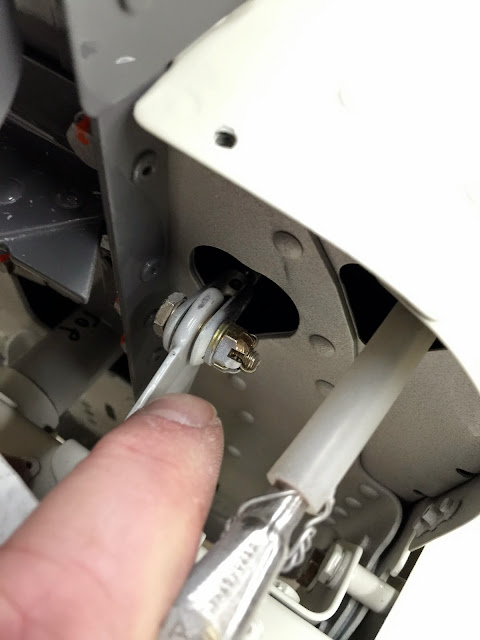
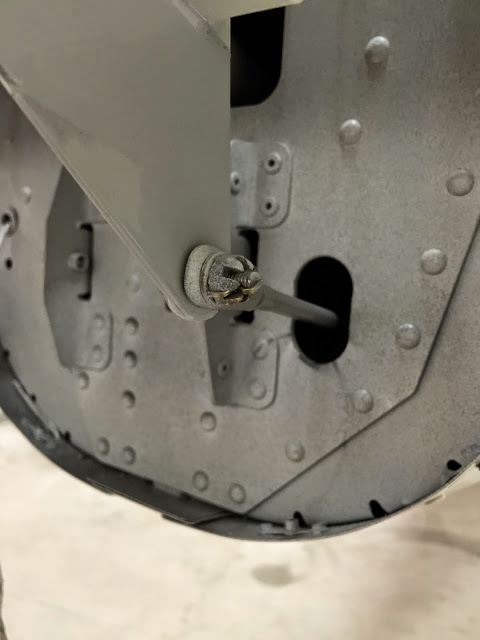
Reference: Page 23-07
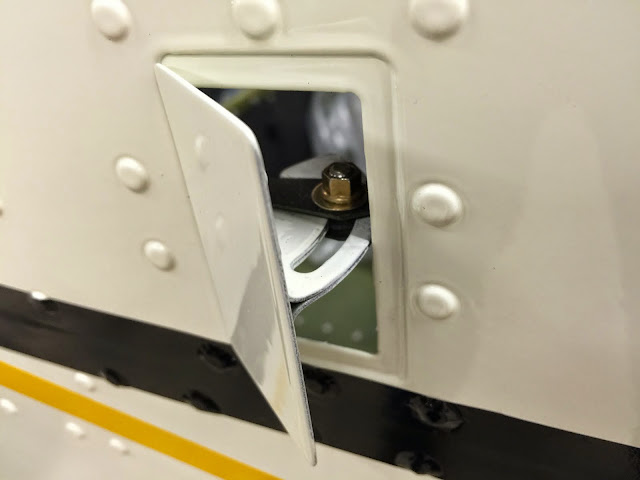
Installed the fresh air vent.
That's all for today. Next I will work on setting the Stabilator cable tension.

